Getting back into Throwing
For my first project this semester we worked to come up with an assignment that would get me used to working with clay again while also challenging me. We came up with a Dynamic Hollow Form assignment, which its main goals are to create a hollow form taller than it is wide, that deals with imbalance issues, and explores additive and subtractive textures.
I knew I wanted to combine wheel throwing and hand-building techniques since it had been almost two years since I had worked with clay. So I threw my main cylinder forms to then use to build with. It was exciting to see major improvement between my first and second days, throwing slowly coming back to me as I worked.
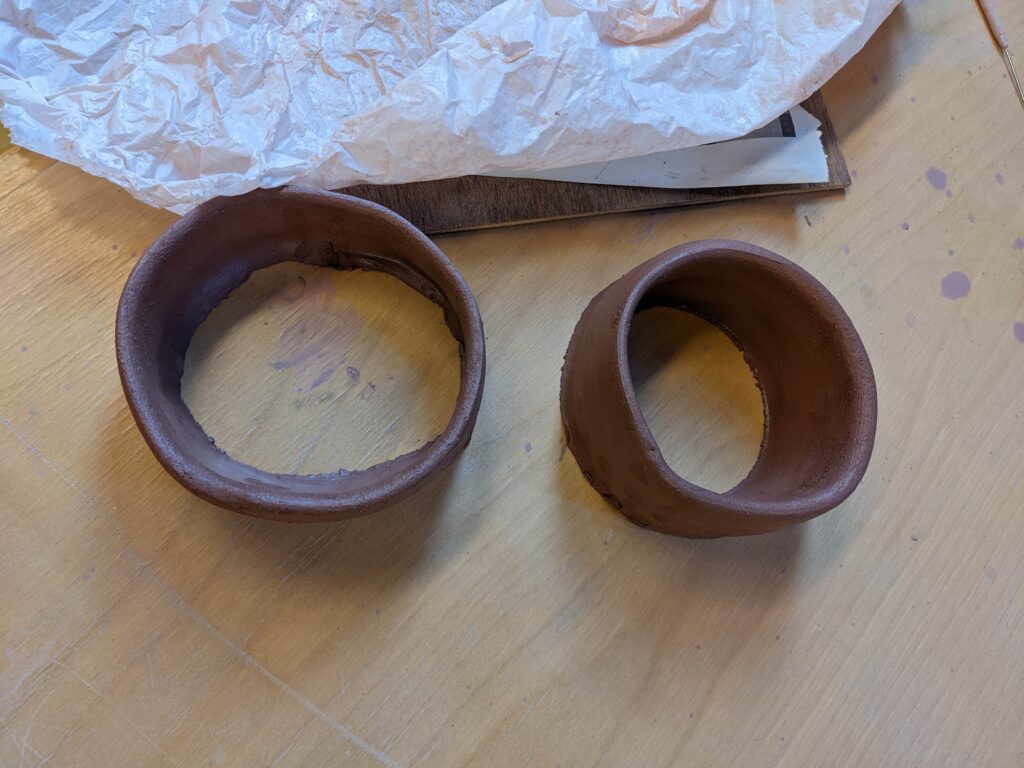
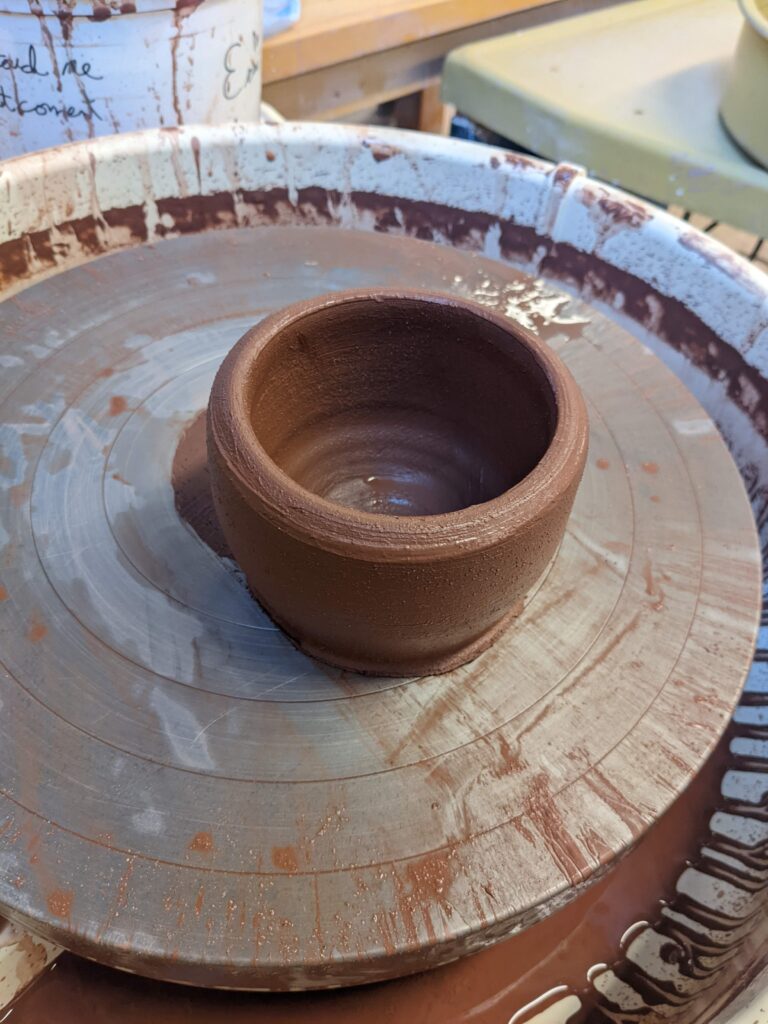
As I threw I tried to think about the object I wanted to build. One of my favorite things about throwing is the zone I get into. It allows me to think through ideas and future projects as I get used to molding the clay and creating different forms.
A lot of my art tends to focus on people and social structures. It tends to be very heavily theory-based too. So I really wanted to explore a subject matter that I don’t create in, and one that wasn’t as heavy. Since I live in New Hampshire Nature focused art is constantly around me, I’ve pretty much drowned in it from a young age as an artist. Due to this, it’s not something I’ve ever explored or really had a huge interest in. It’s about as far away from my normal artwork as you can get.
It made me curious to see if I could create a project centered around nature that was interesting and dynamic to me. I’ve always thought mushrooms were cool, and I thought they would give me an opportunity to play with some fun textures since there are so many different kinds of mushrooms.
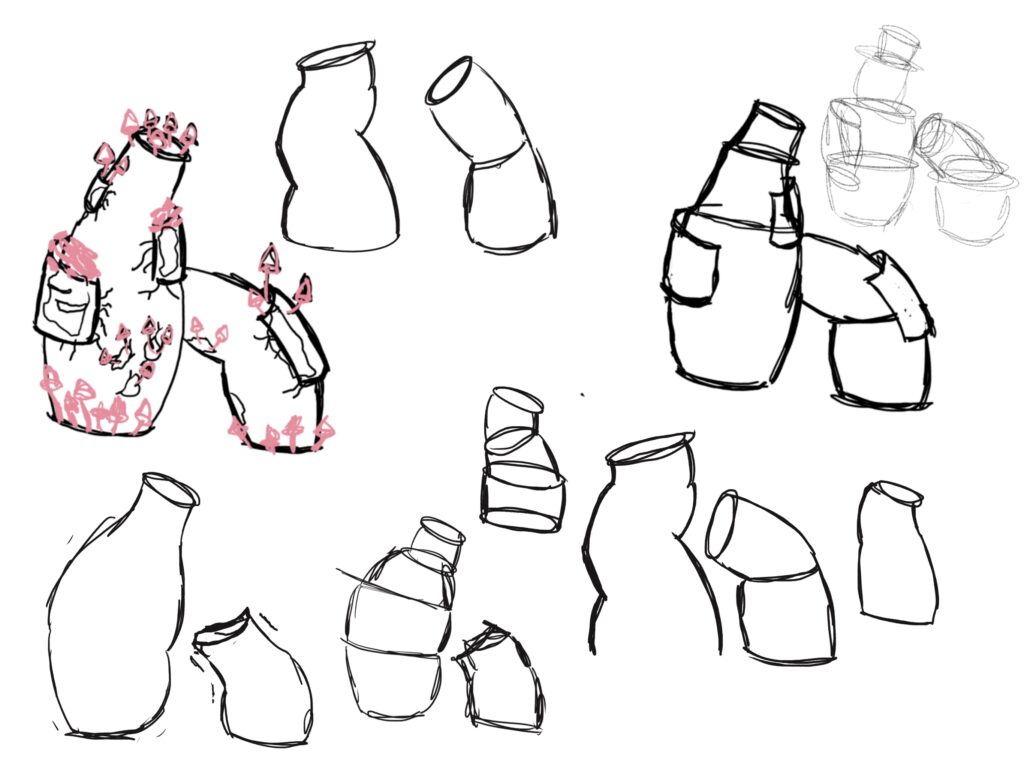
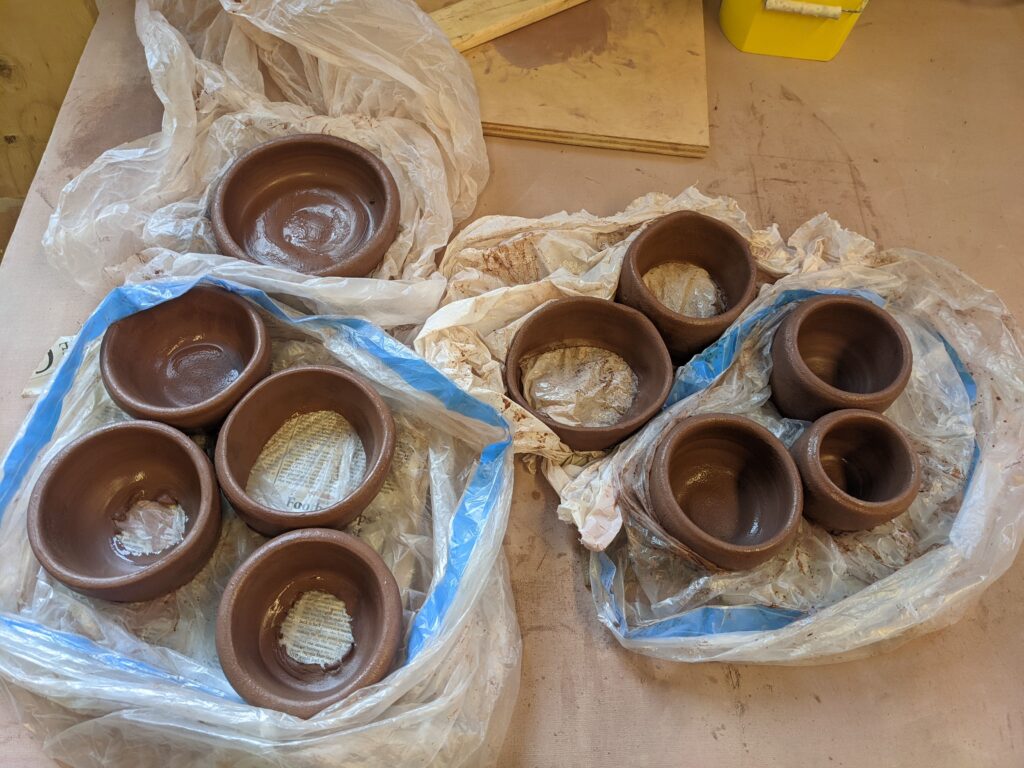
Once my forms were all thrown I began to build.
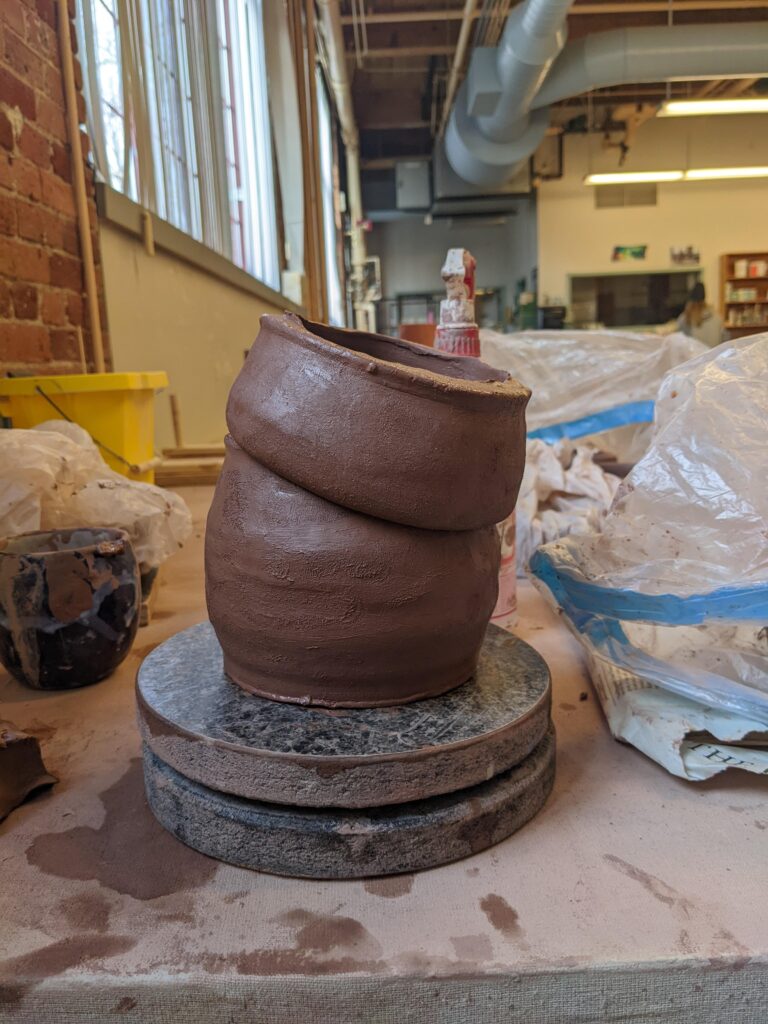
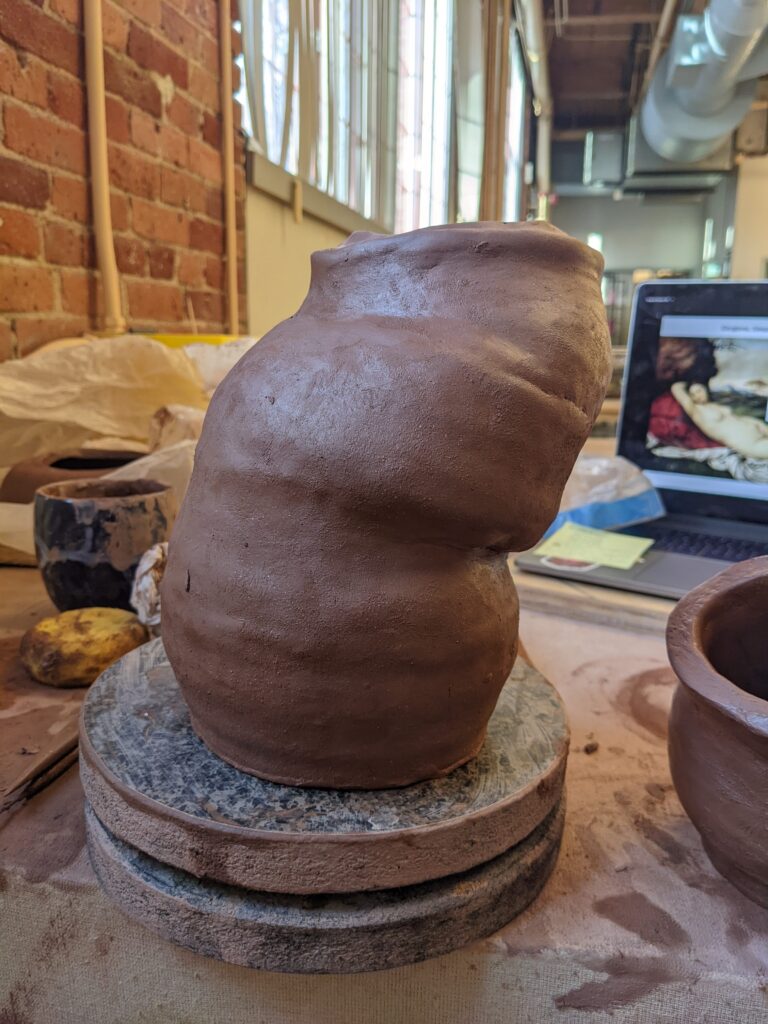
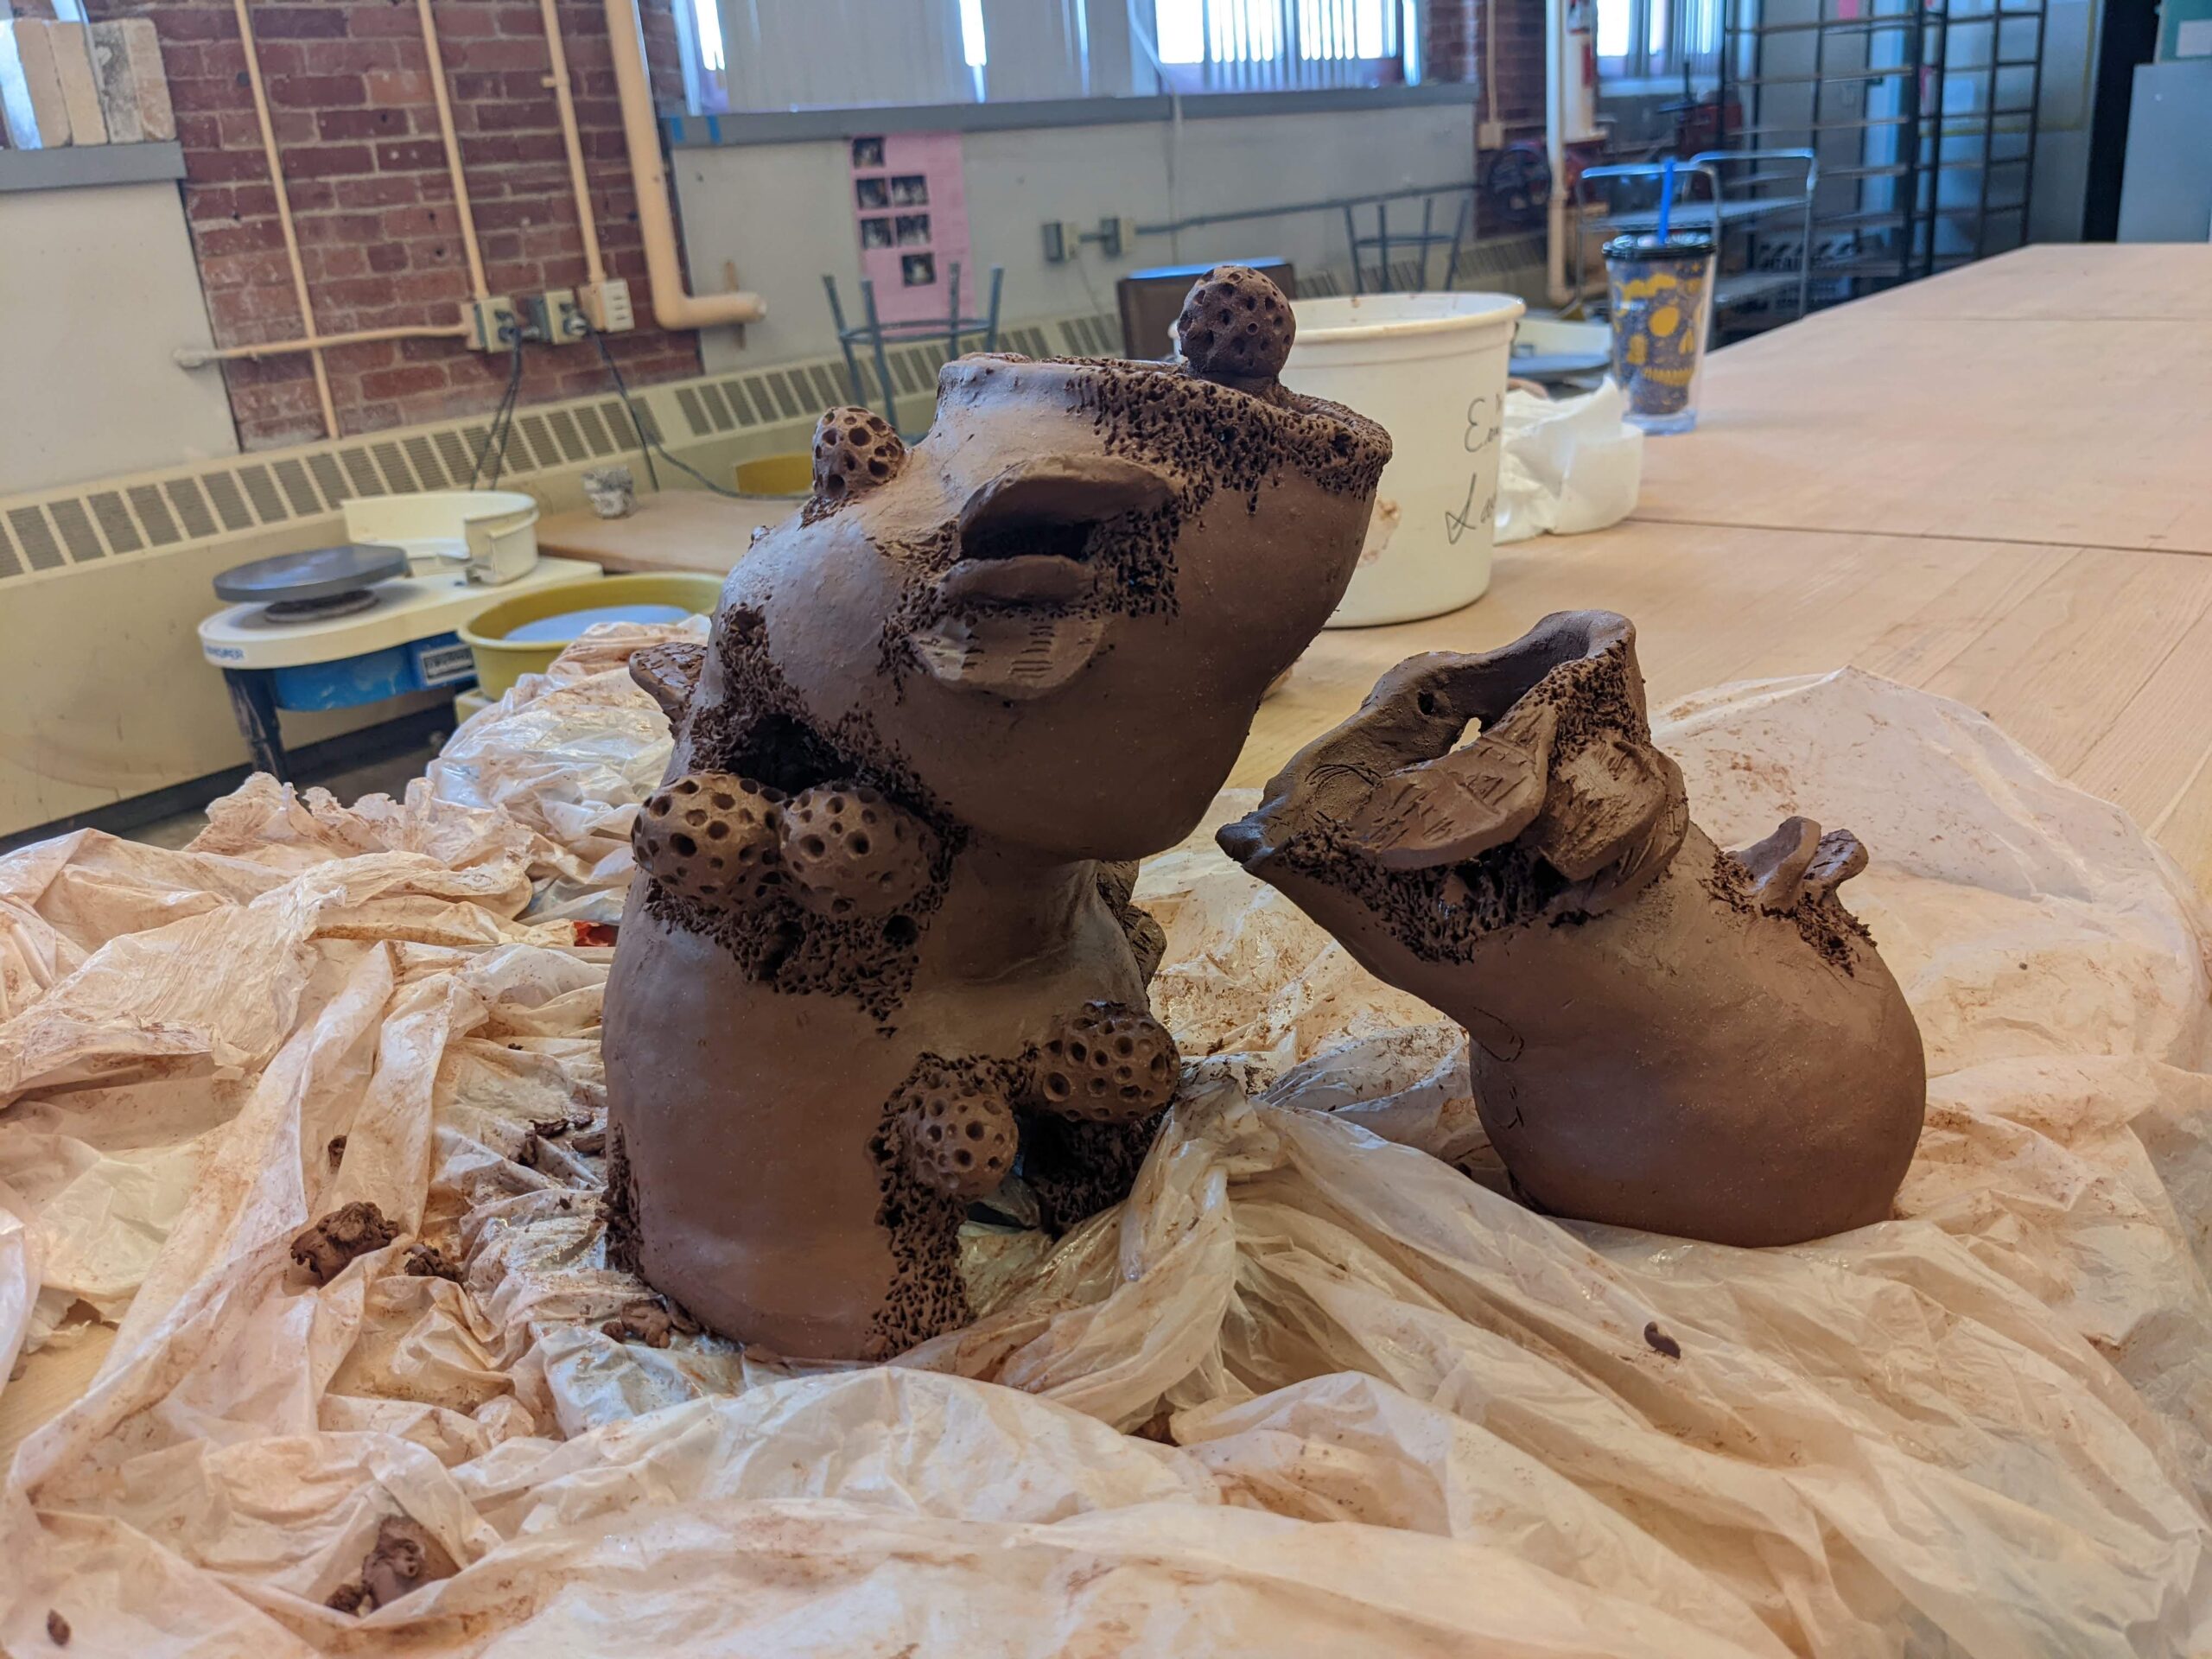
Unfortunately, I had started to build when my clay was too wet and when I came back to work on the piece the bottom had collapsed.
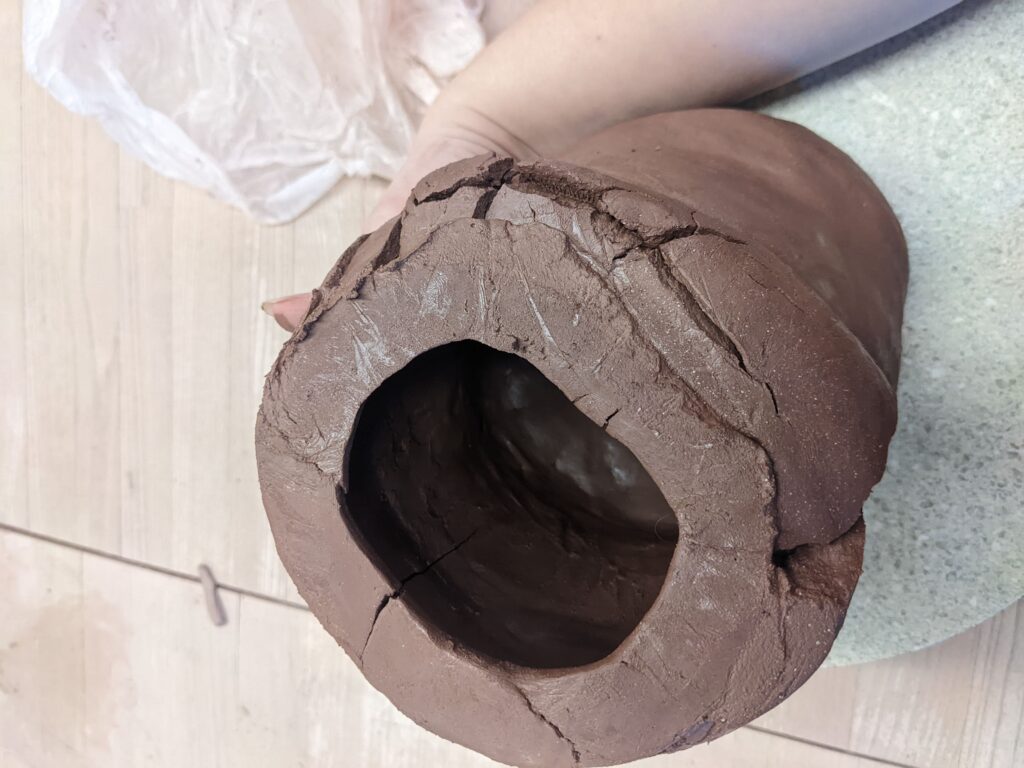
Though it had set me back a little bit part of why clay is interesting to work with is because it can be a difficult medium to use. I cut off the bottom where it had become squished and threw a few more cylinders to rebuild the bottom.
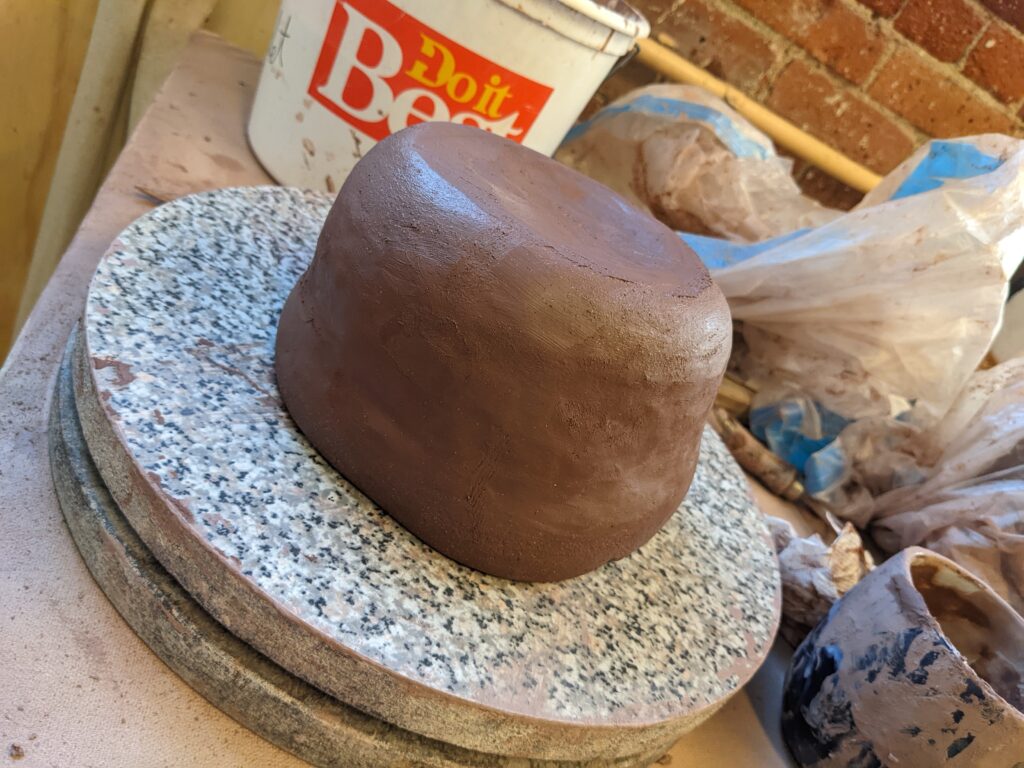
I kept the bottom separate from the rest of the structure while it dried, keeping the top half of my structure very wet so the bottom half had time to dry until they were about the same consistency. While I waited for my bottom half to dry a bit more I started on the smaller section of the piece as well as began to play around with different textures.
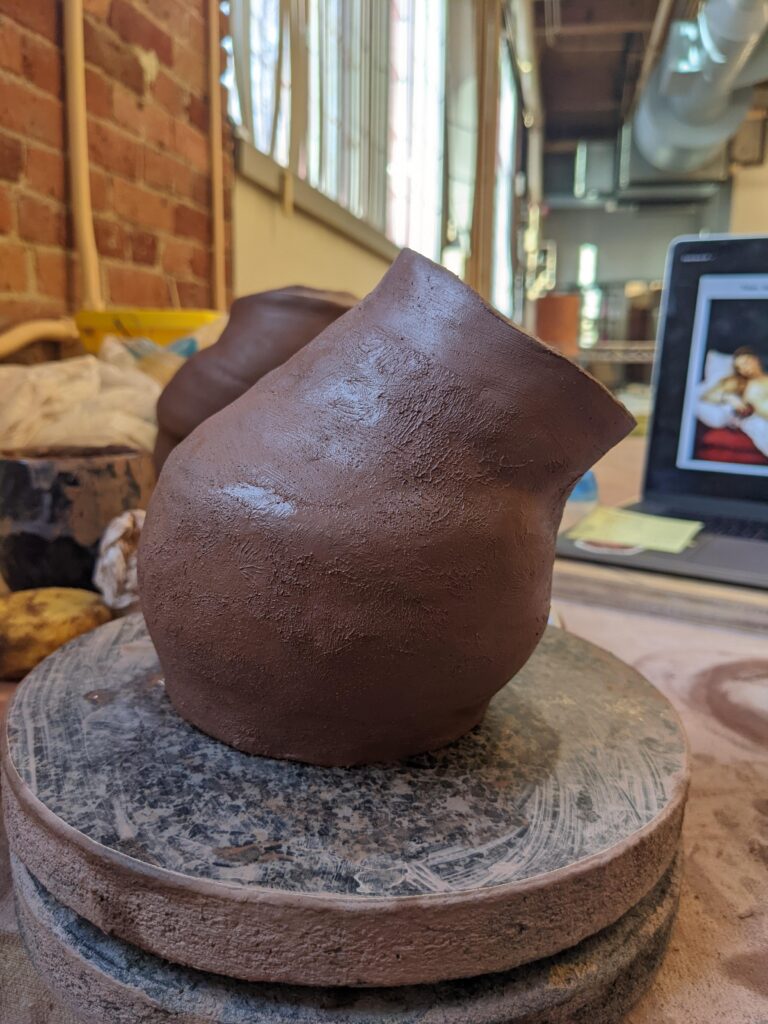
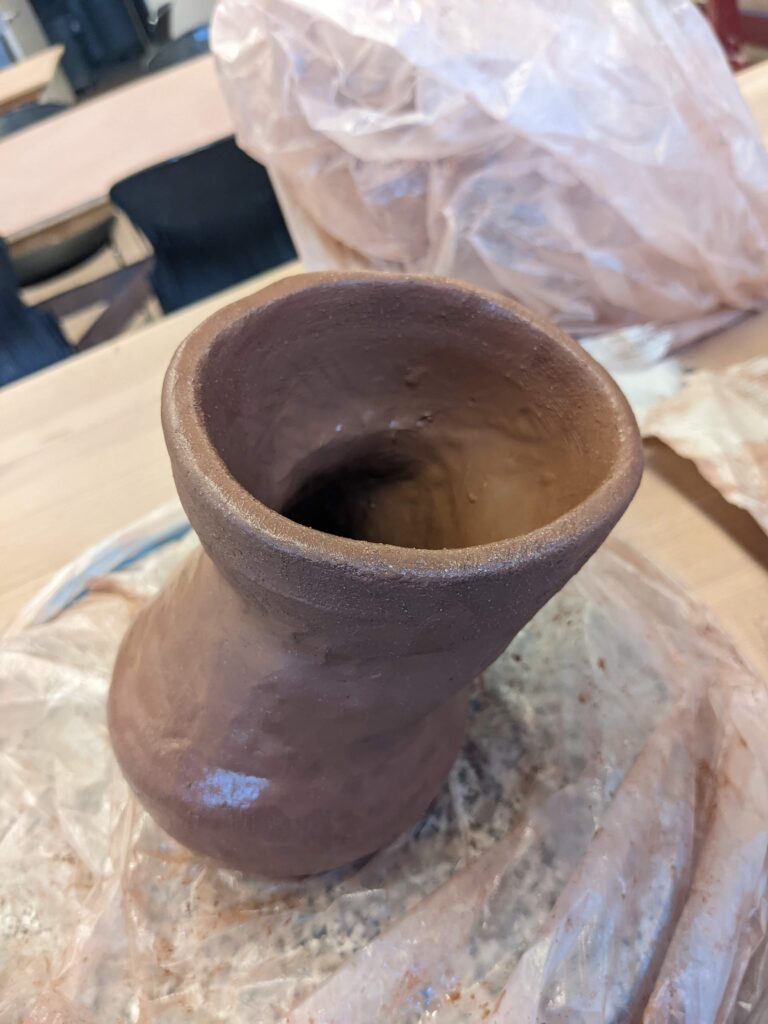
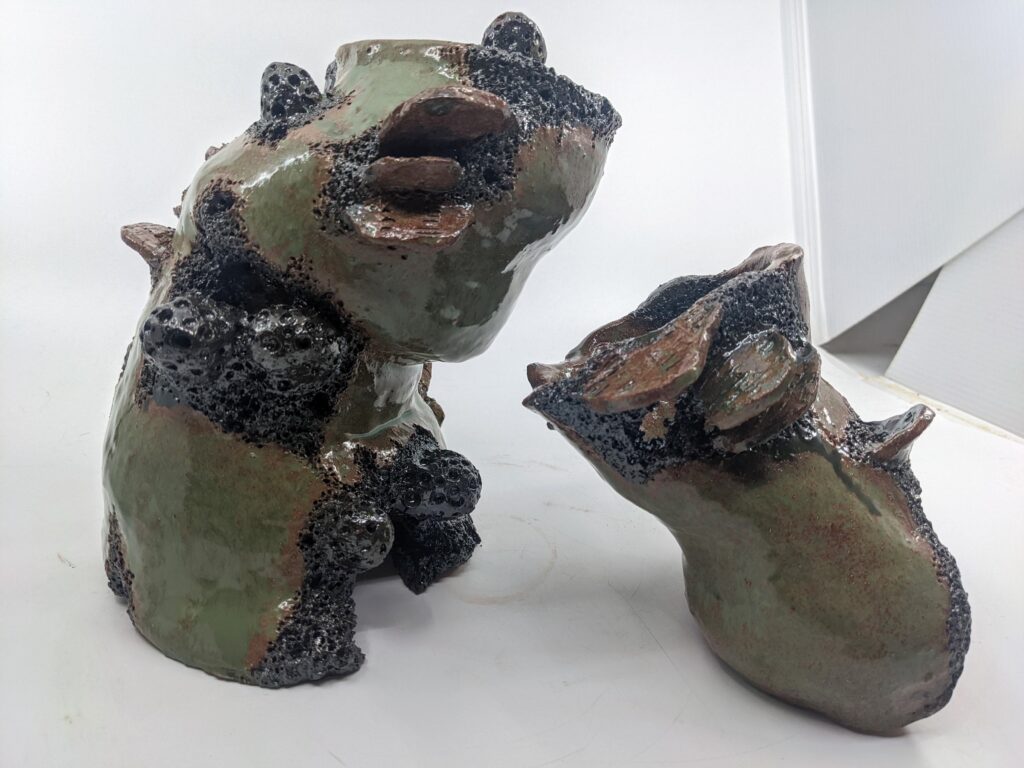
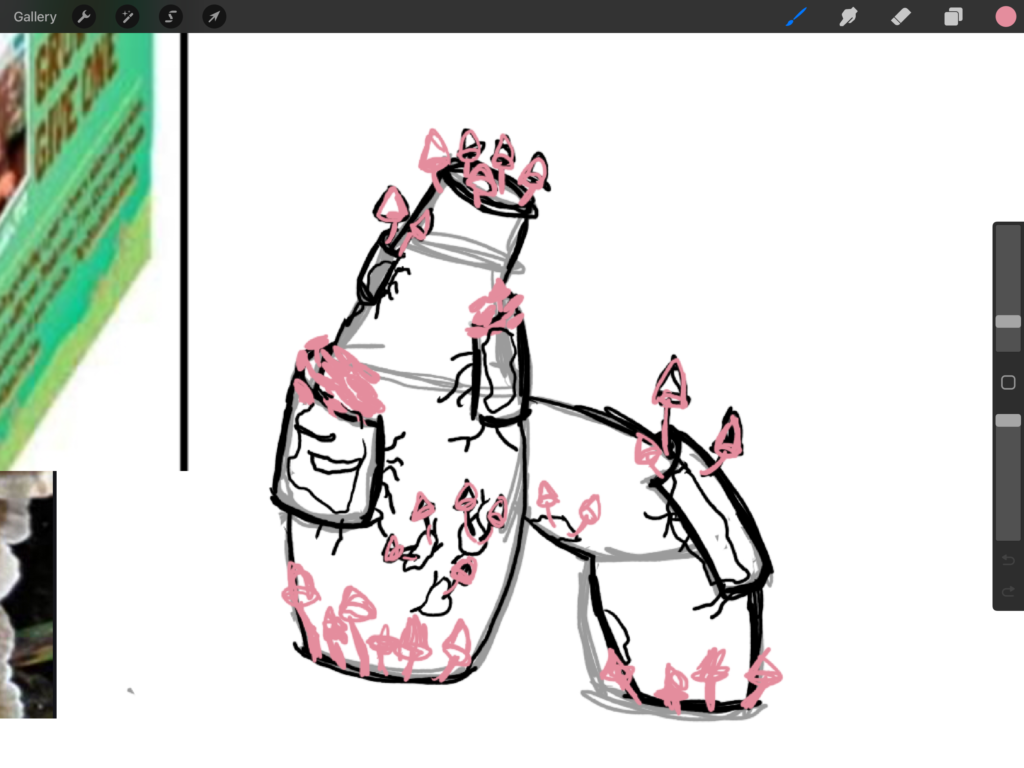
I had looked at a bunch of different types of mushrooms, as well as the different environments they grow in. Though I was taking inspiration from them I wasn’t really aiming for a realistic representation. As I built my forms I imagined it as a trunk or giant mushroom stem that was slowly being consumed by the smaller mushrooms that made it their home. I really wanted to capture a sense of emotion and life in its organic form.
This affected the overall shape of my form, trying to make its bends more expressive, but I tried to also show this eating away through texture.
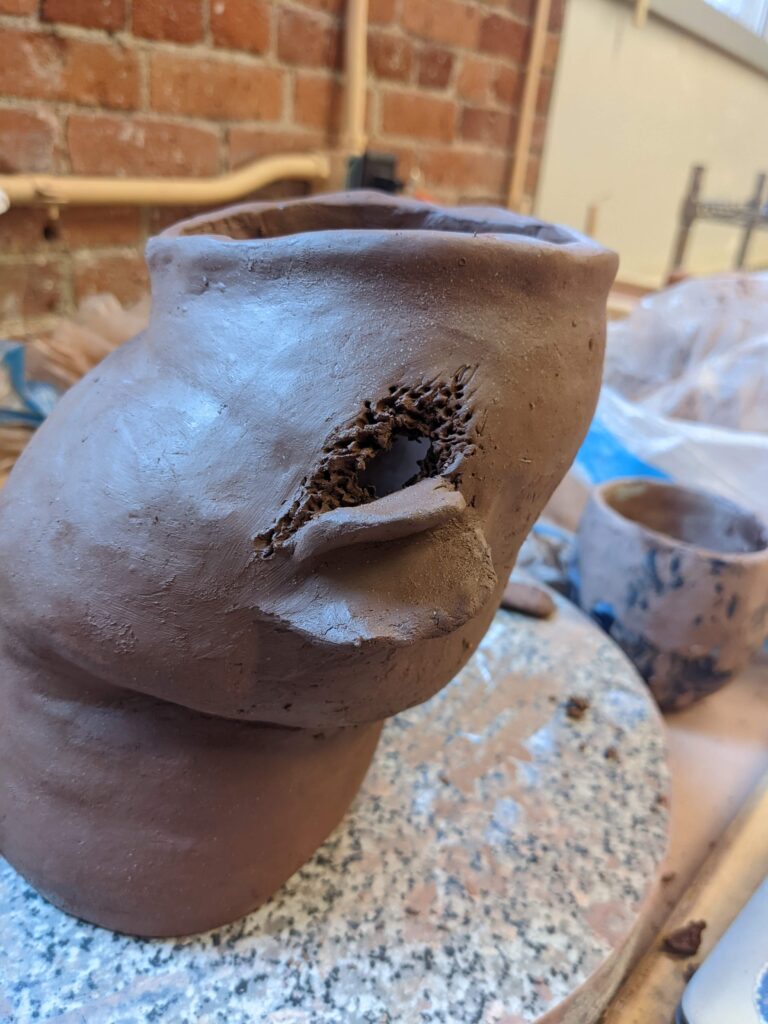
Since clay is forgiving when it comes to mark-making, I prefer to do my texture studies right on my forms. I like this over trying them out on a separate piece of clay because I can take a step back and see how the texture works with the form. I can do different textures on different sections and see which I like better, and then just wipe away what doesn’t work with a little slip or water.
For the areas surrounding the mushrooms, I looked at rotting and decomposing wood. A lot of it had tiny holes where it almost looked like it had been eaten away or infested by insects. I tried to replicate this by tearing away at the clay with the needle tool. Later on, I also went back in and added more holes that pierced all the way through the clay to try to make it look less like moss and more like the form was rotting away.
Moving more towards this idea of rotting away I also separated the smaller portion from the larger one. This added an additional sense of negative space that I like. I also sort of imagine that the smaller piece is trying to reach up to the larger one to save its friend, but who is also being eaten away. It is doomed to someday be crushed when the larger piece can no longer support itself.

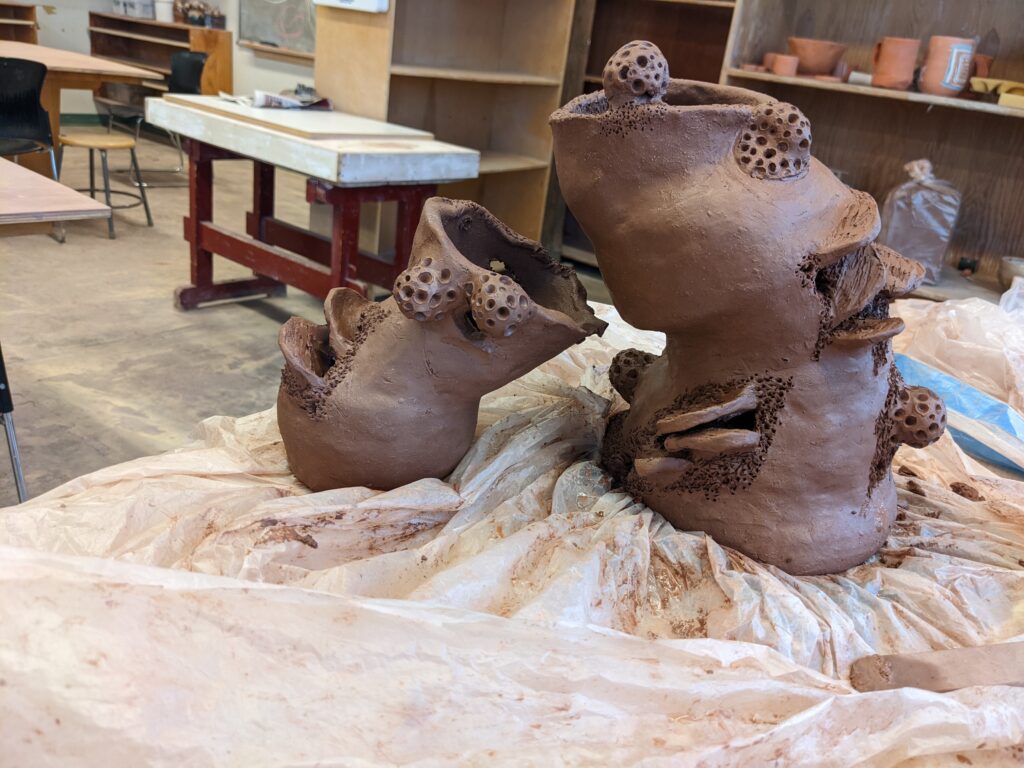
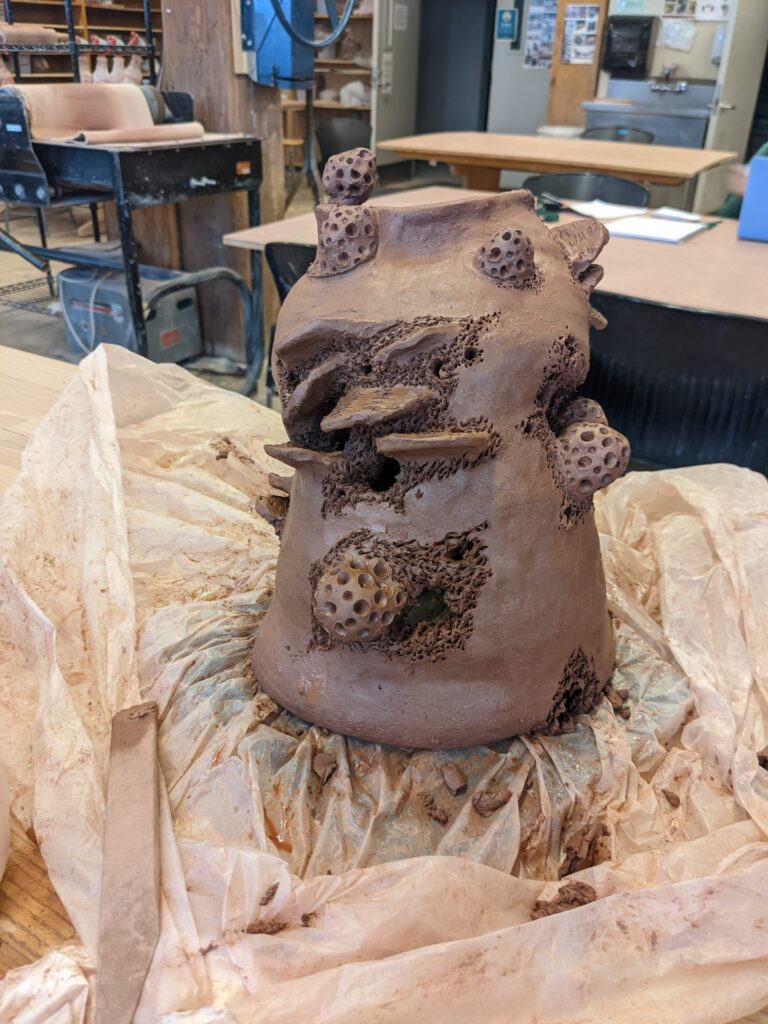
As my piece dried and was fired, I began to research glaze recipes. This was really exciting to me because I’ve never made my own glazes before. It took me a while to get the hang of reading the recipes and understanding but I still had a lot of fun. I knew I wanted to do a base color for the mushroom form and then a different color on the rotting parts. I originally researched a lot of red and black and brown glazes.
I found this really cool Bronze Crater Glaze by himnelsholm that looked almost like rusting away metal. I tweaked this recipe as I did not have all of the same ingredients. Specifically Ulexite which I replaced with Calcium Carbon.
My test for this came out really cool and it bubbled just the way I wanted too for my rot. This came out even cooler on the final piece as I put the glaze over really textured parts of the piece which made the bubbling even greater.
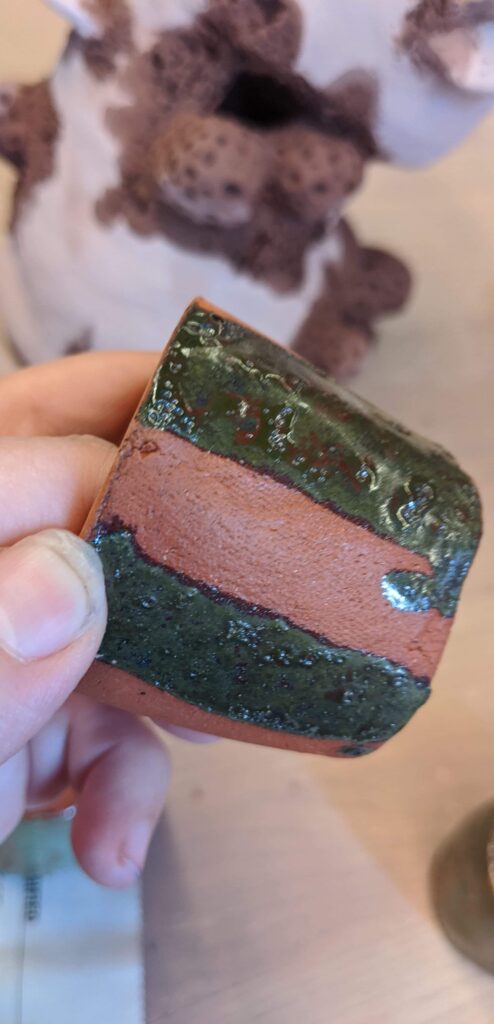
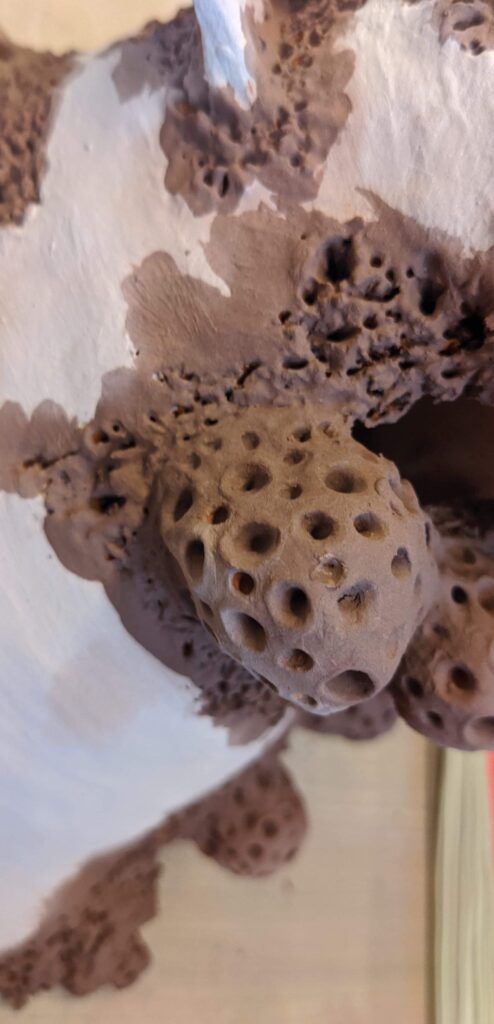
for the main base I had originally used a glaze recipe called Bronze Raku Luster by that I found on glaze. I had intentionally tweaked the glaze to have red more of a reddish brown instead of black. But I actually accidentally put titanium Oxide instead of Tin Oxide. I realized right away, and after talking with my professor I decided to add the Tin Oxide as well and run a test anyways. I named it the forbidden cake mix and didn’t expect to be a useable glaze. Not knowing how the titanium oxide would change the color at all.
the color ended up being this really cool brown and green that I fell in love with. The more I layered the glaze the more green it was.
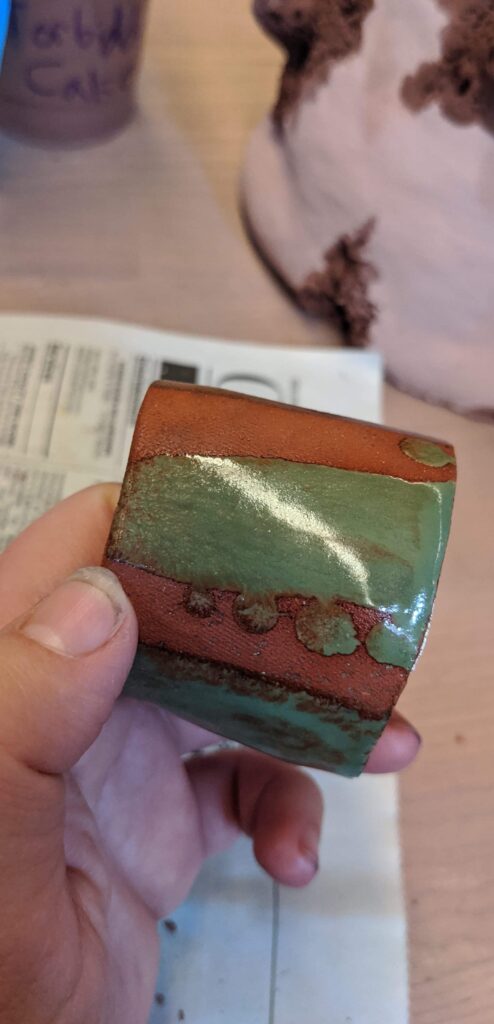
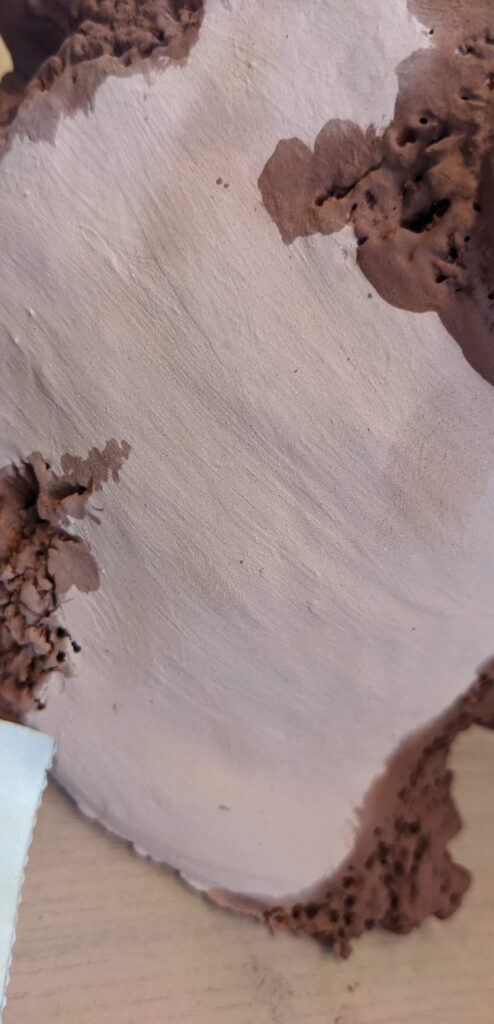
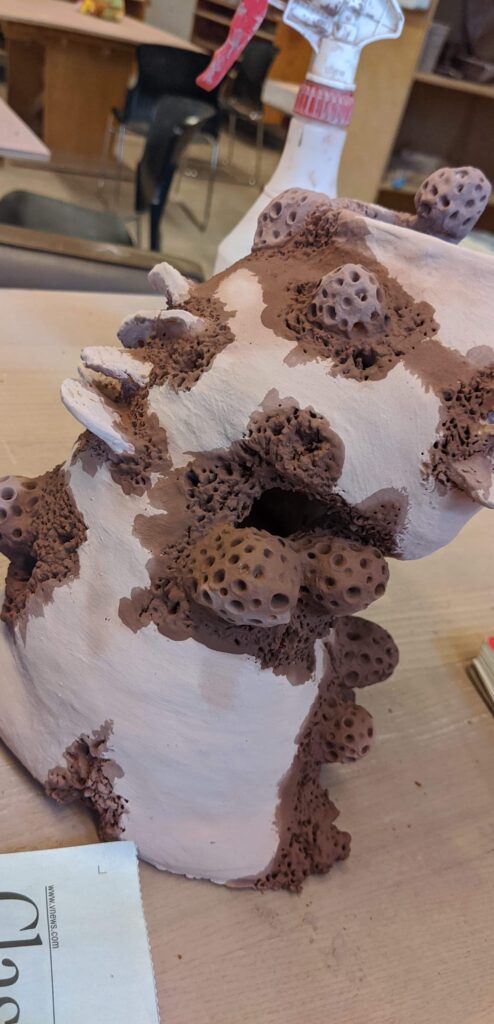
when glazing I decided to do the flatter mushrooms the same glaze as the main form as I wanted more color to break up the rot. I only painted one layer on the mushrooms though, so it would be more of a brown and did three layers on the main form so it would be more green. Also doing the thinner coating closer to the rot so the rot color and the main color mixed a little bit.