Self Designed Project
To start this project I sat down with my class and we began to set some perimeters for ourselves. This is the first time I’ve ever designed my own large project for a 3d class, so I was super excited.
Over all Grading Perimeters:
Must be large in scale, or Multiple pieces. Students must actively incorporate a challenge for them, and document how they were trying to overcome it during their process. For example, if the student struggles with non-representational forms then their challenge may be to work abstract. Or if they struggle to sculpt with clay they may make their pieces out of clay. Students will grade each other on their finished piece, artist statement, and presentation during the critique. Students will also be graded on their eport by their professor
Critique 60%:
- Student presentations of artist statements-(35% out of 60%) Student speaks clearly and confidently about their piece. They have a clear understanding of the topic and can communicate it. Talks about their ideation and process. Can answer questions about their process and piece.
- Final Piece-(20% of 60%) Piece is “finished” (More can be added to it or changed, but the piece should need minor changes or adjustments. Ceramic pieces do not need to be painted or fired for critique) Intensions are clear.
- Grading other Students- (5% of 60%) Students are to grade each other, as well as give feedback and participate during the critique.
Eport 40%:
- Process-(20% of 40%) Students document their entire process (Lateral, material studies, maquettes, the final piece, artist statement.), as well as talk about their challenge, and how they overcame it.
- Lateral Thinking-(10% of 40%) Students should have some form of lateral thinking. Sketches, research, notes, etc.
- Maquette’s-(5% of 40%) Students should create maquettes to help them during their process before they move on to building the final form.
- Material Studies-(5% of 40%) Students should play with materials before moving on to building the final form
Personal Perimeters:
I’ve always been drawn to the large boom in immersive and interactive art that has happened in the last 10 years. But because I am a full-time student and also have to work so much on my breaks to save up to keep me afloat during my semesters, it’s not something I’ve really had time to explore. So I wanted to take this opportunity to explore it a little bit before my thesis year.
All art is immersive and interactive to a degree. We experience art, whether we realize it or not. My interest in this though was pushing the boundaries.
I began to research other artists and pieces that were considered immersive. Here are few of the artists and pieces I looked at:
After doing some research, I put up a piece of paper on my wall and just began to write what came to mind. I would go back and re-watch some of the videos, or look at more, then go back to writing.
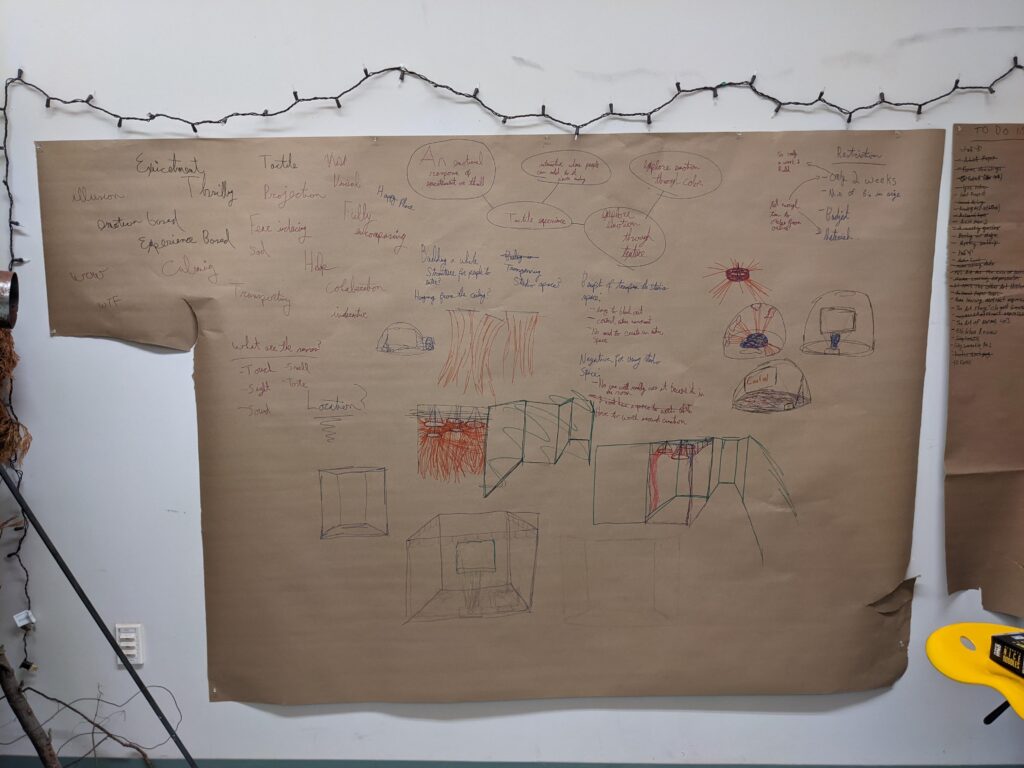
Through doing this process I was able to develop my main goal as well as start developing different designs for the piece.
Goal: To create a piece that had a calming effect on the viewer and provides a temporary distraction from their troubles.
Personal Challenge: Dedication to the process, and time management. I’m always pulling all-nighters the day before a project is due. This is partly because I’m a slow worker, but also because if I don’t plan out all of my time I get behind.
Once I had my goal and challenge formulated, I began to sketch out some ideas. As well as a work schedule so that it was easier to stay on track and manage my time. I scheduled my time as if the project was due on Sunday instead of Tuesday, that way if I ran over in any areas, there was a whole day to make up time.
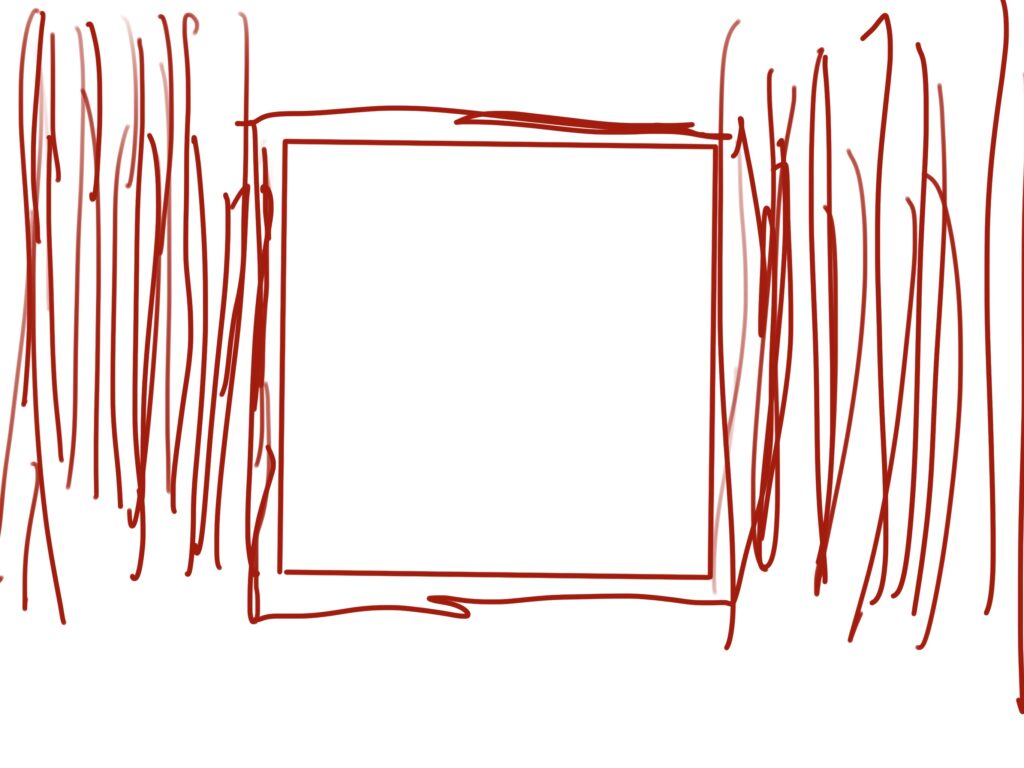
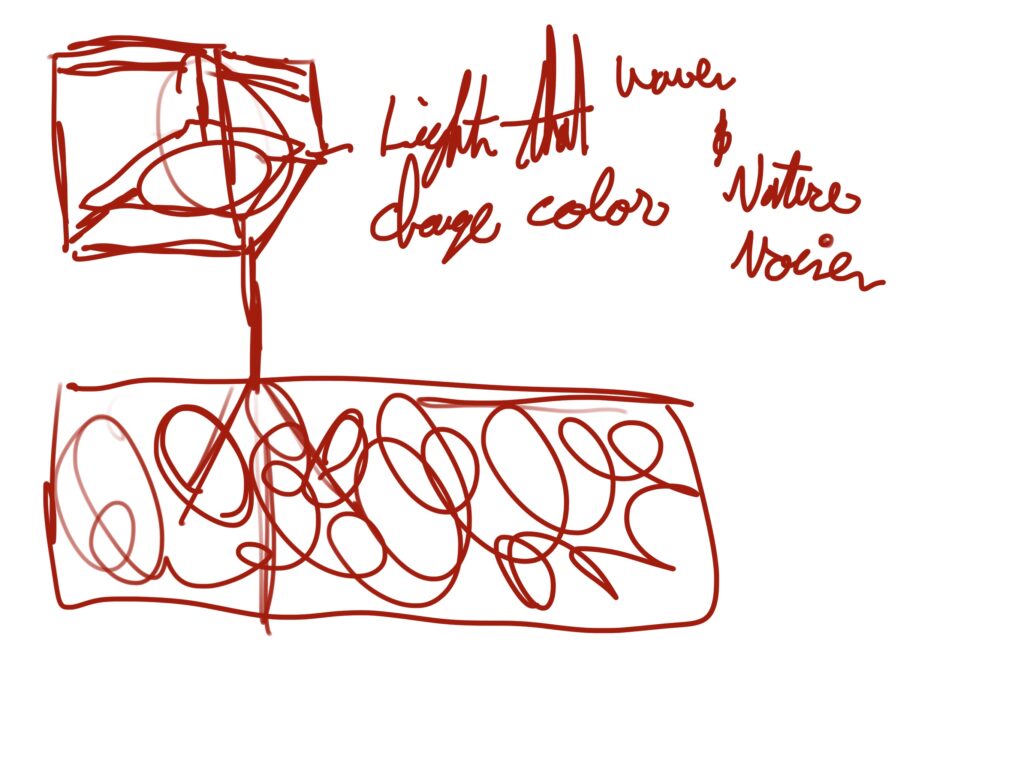
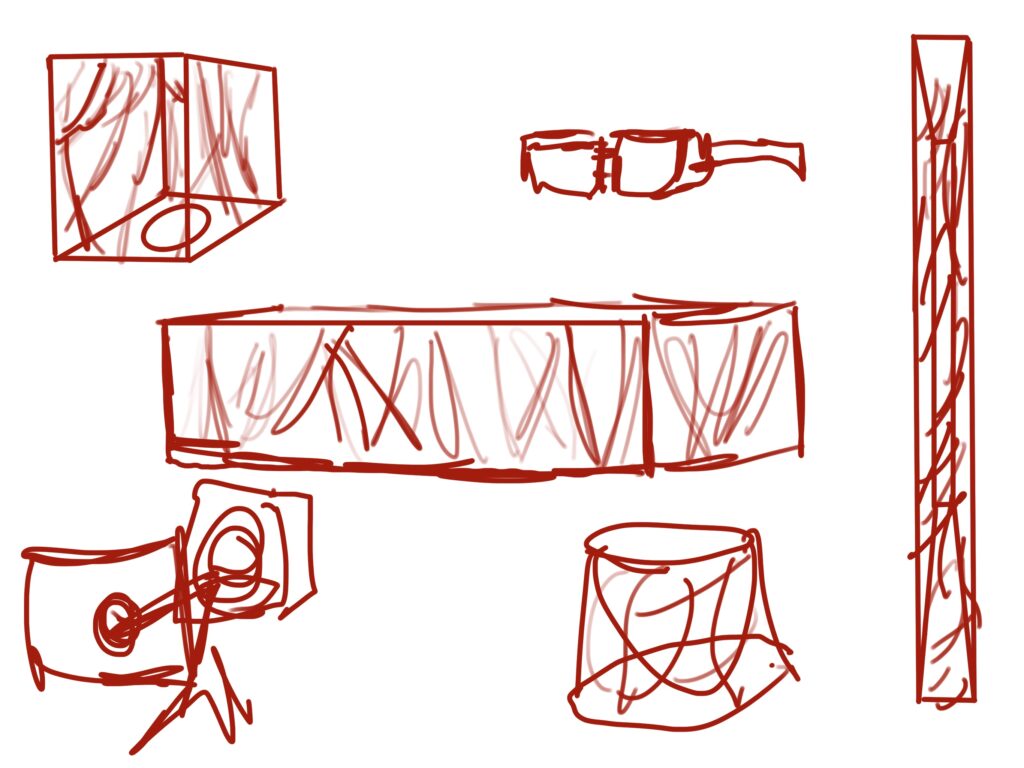
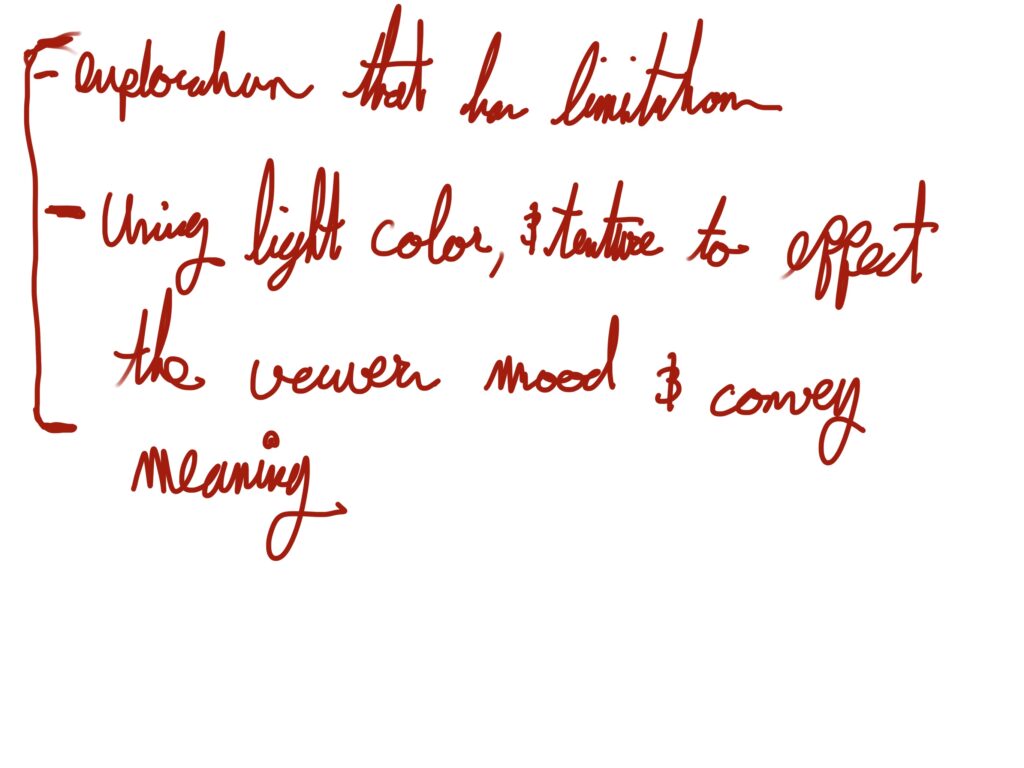
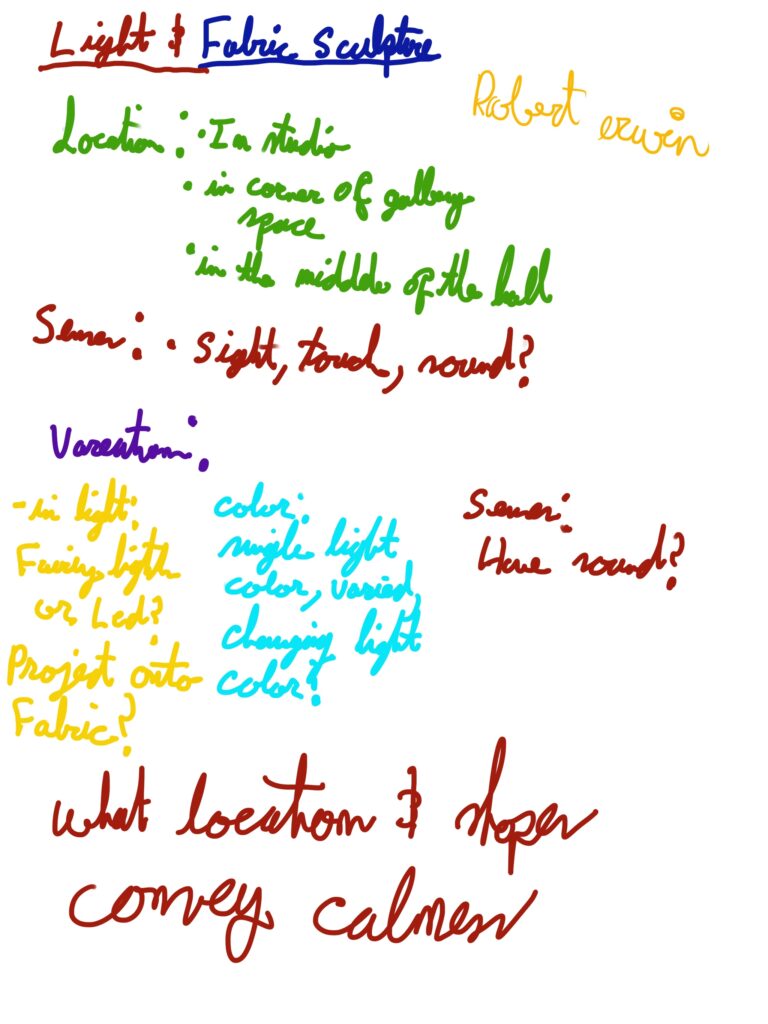
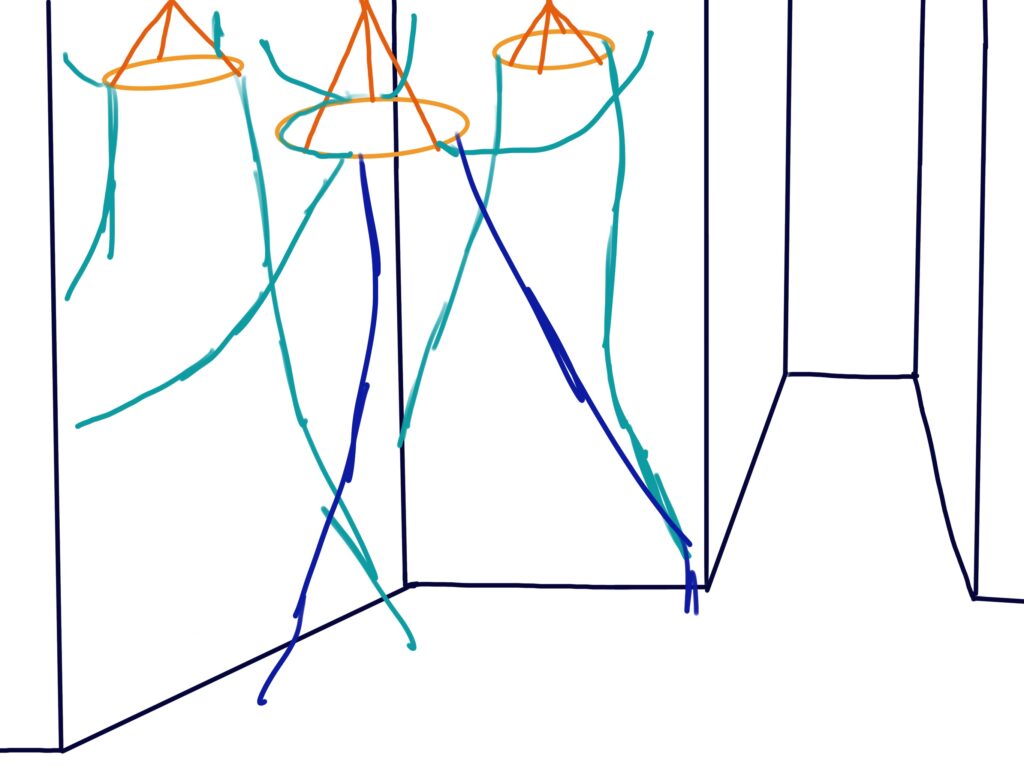
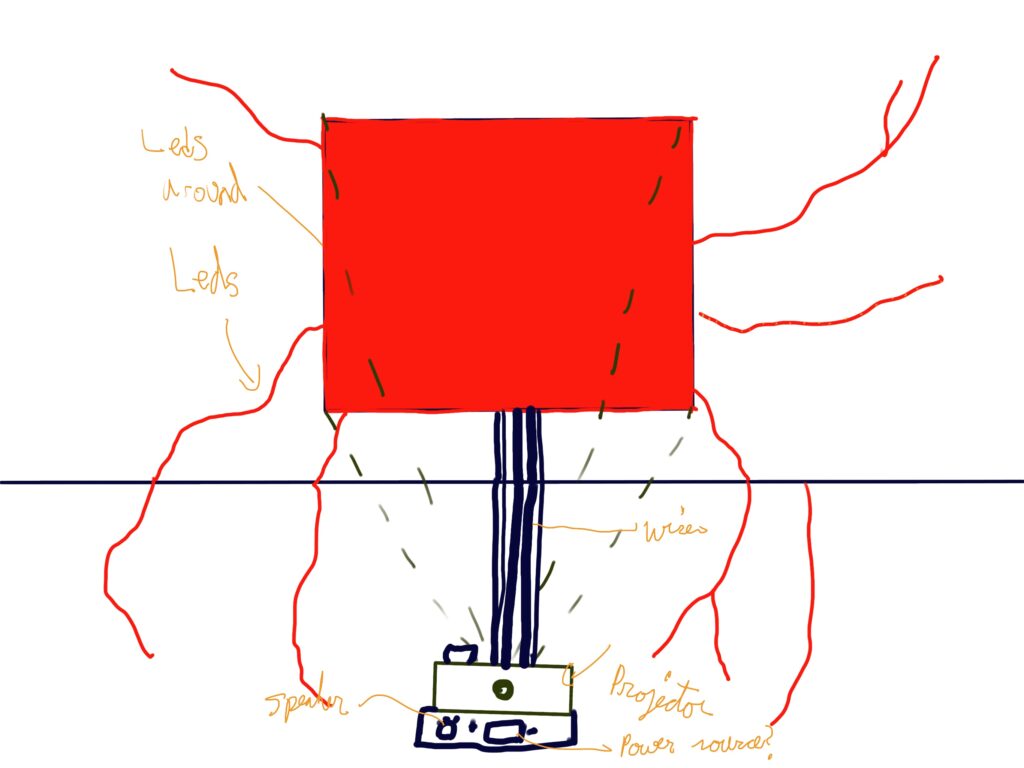
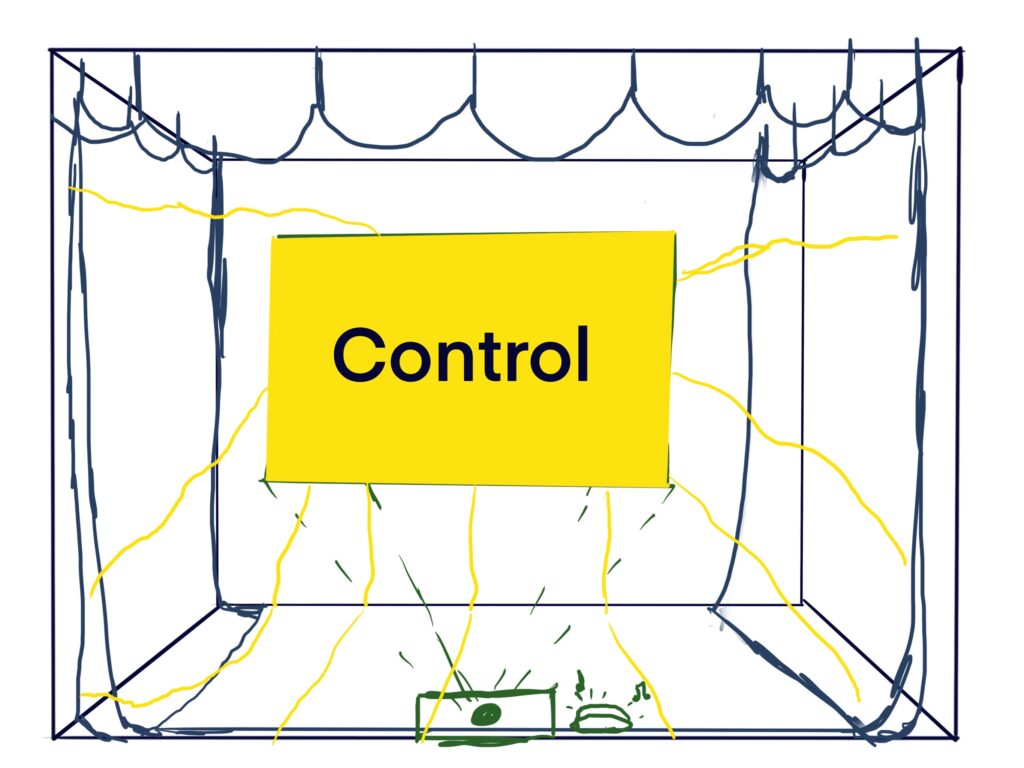
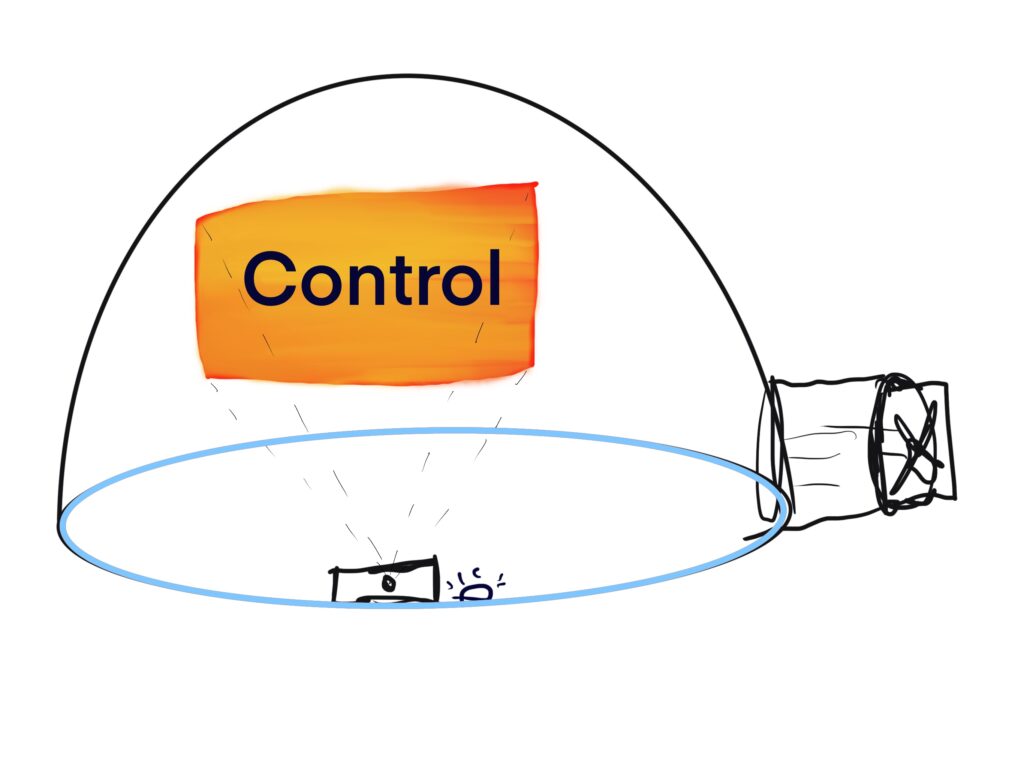
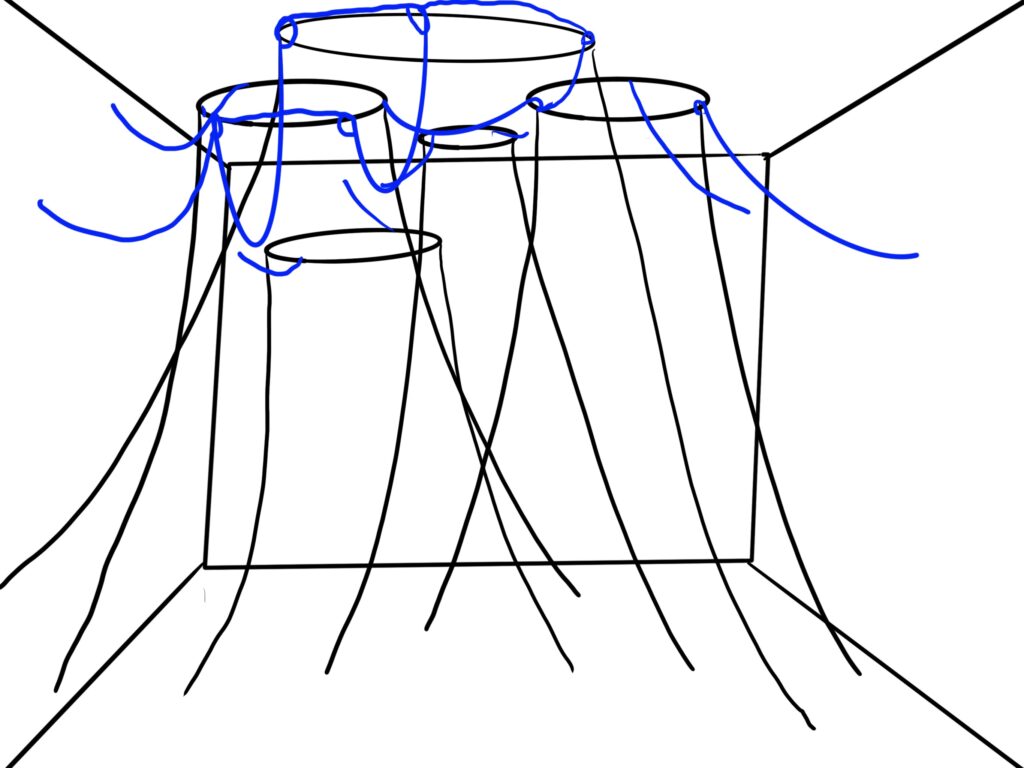
Once I had my idea, I began to create maquette’s and material studies.
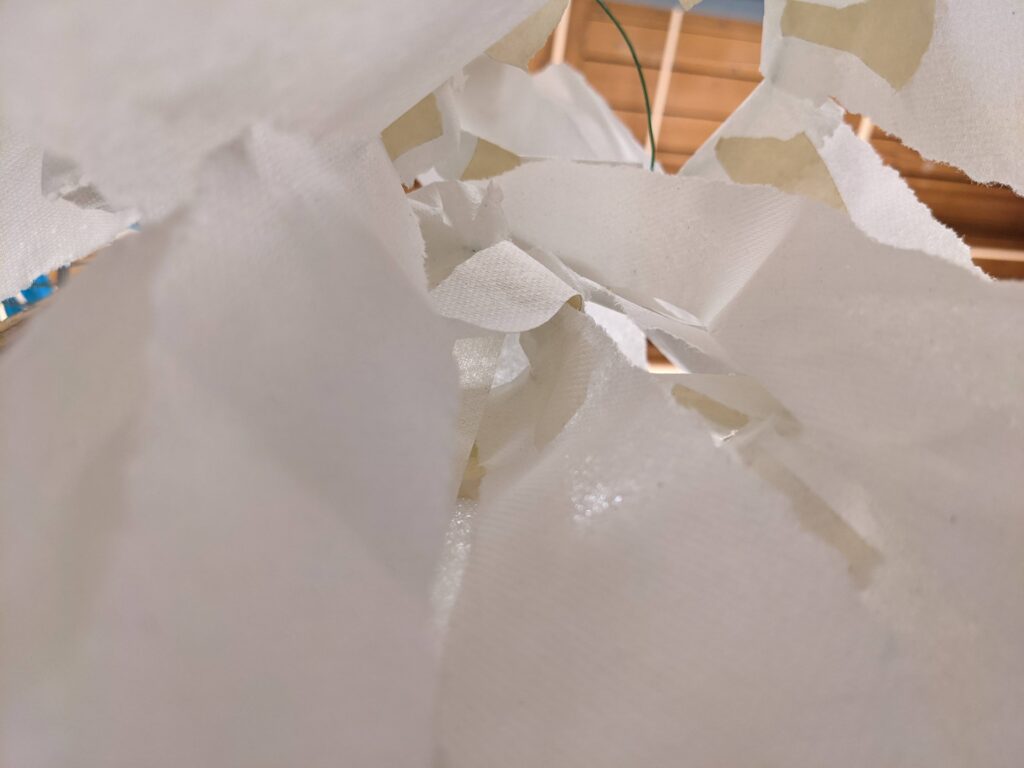
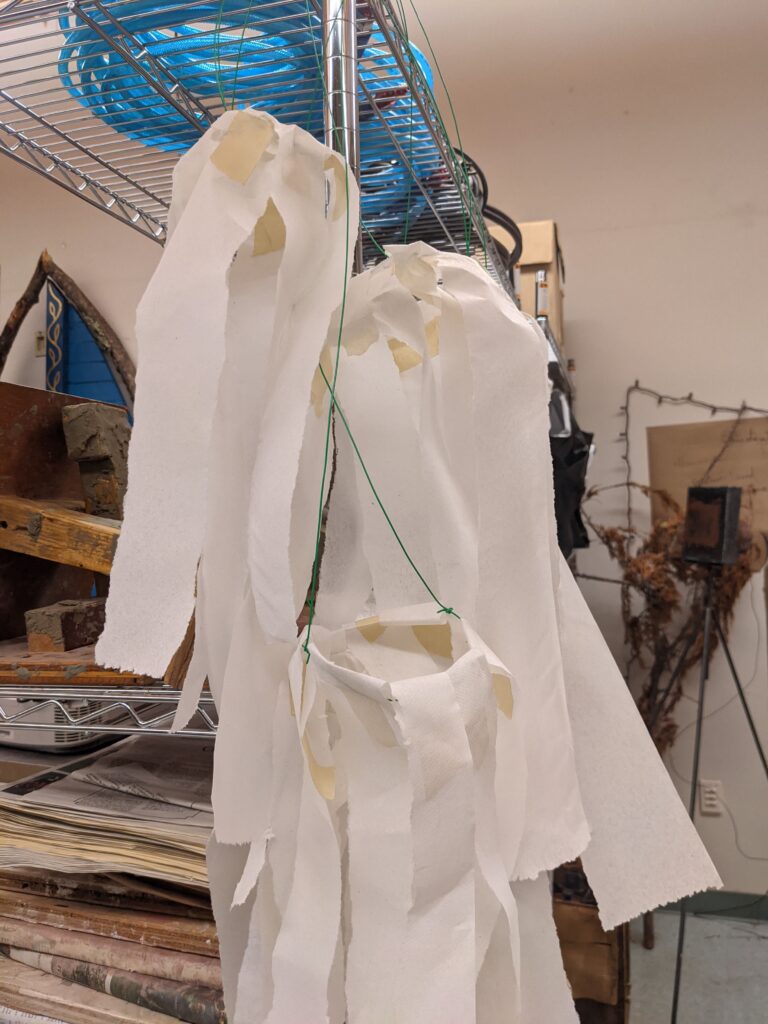
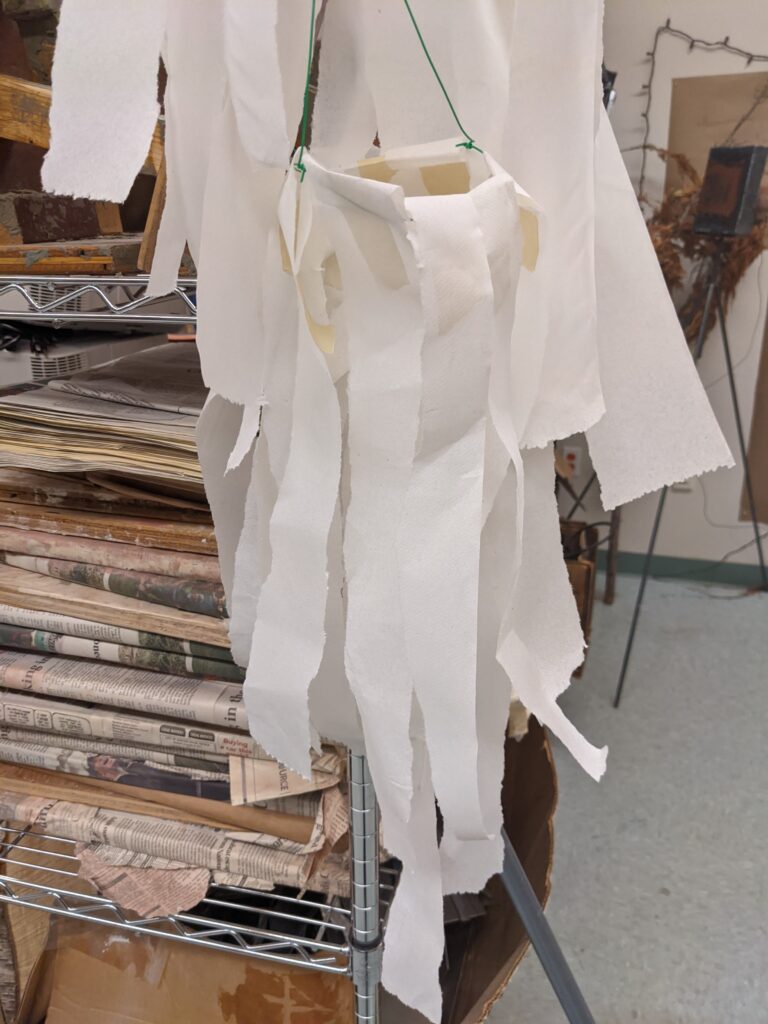
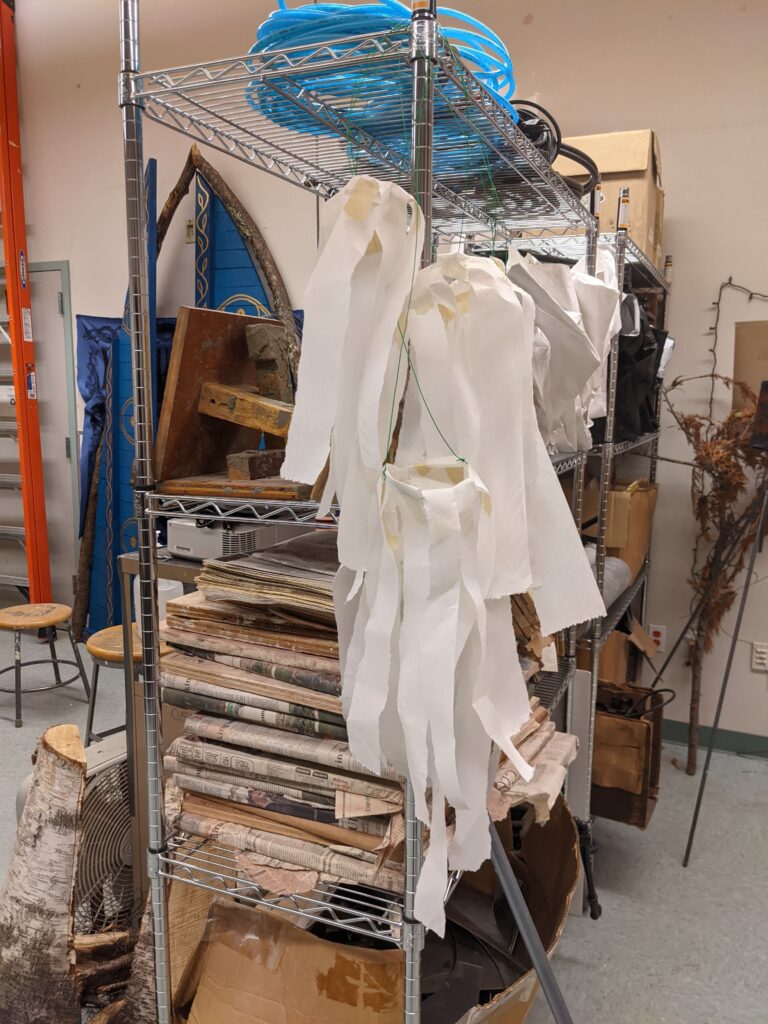

Projected lights Projected lights with LED’s
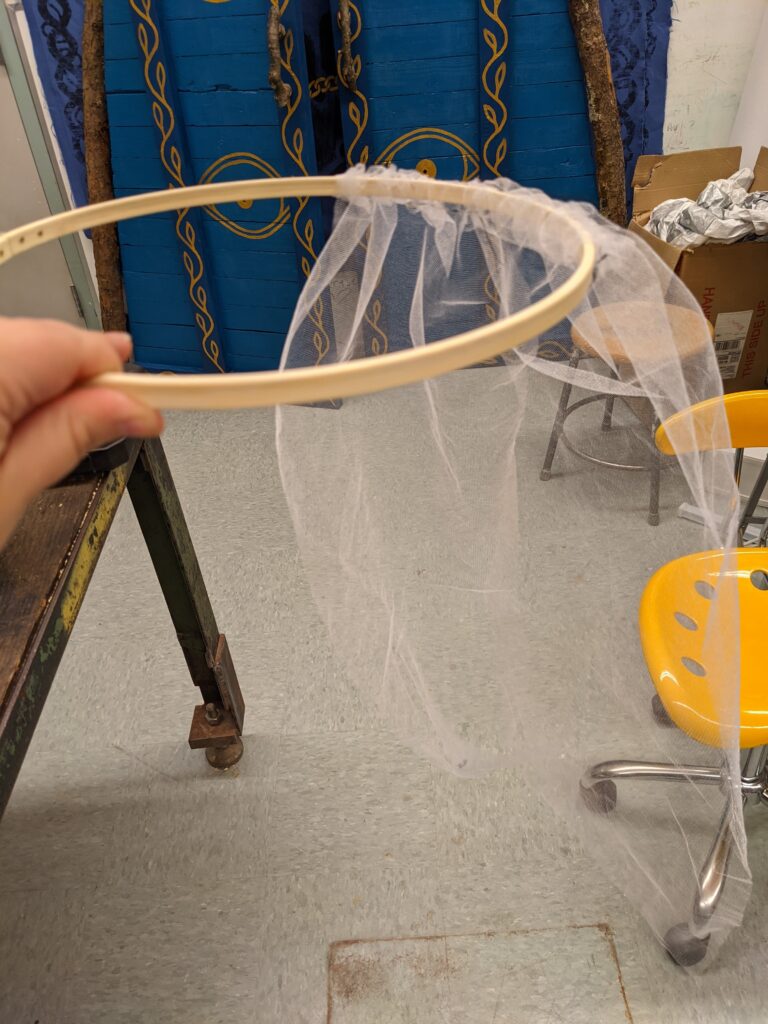
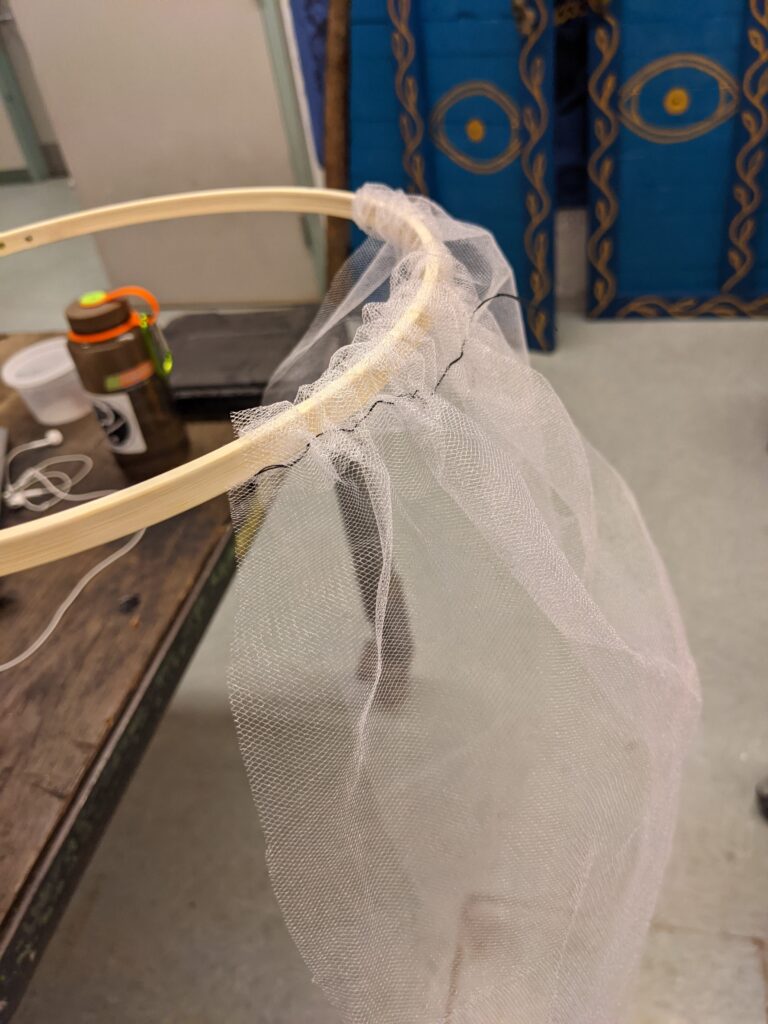
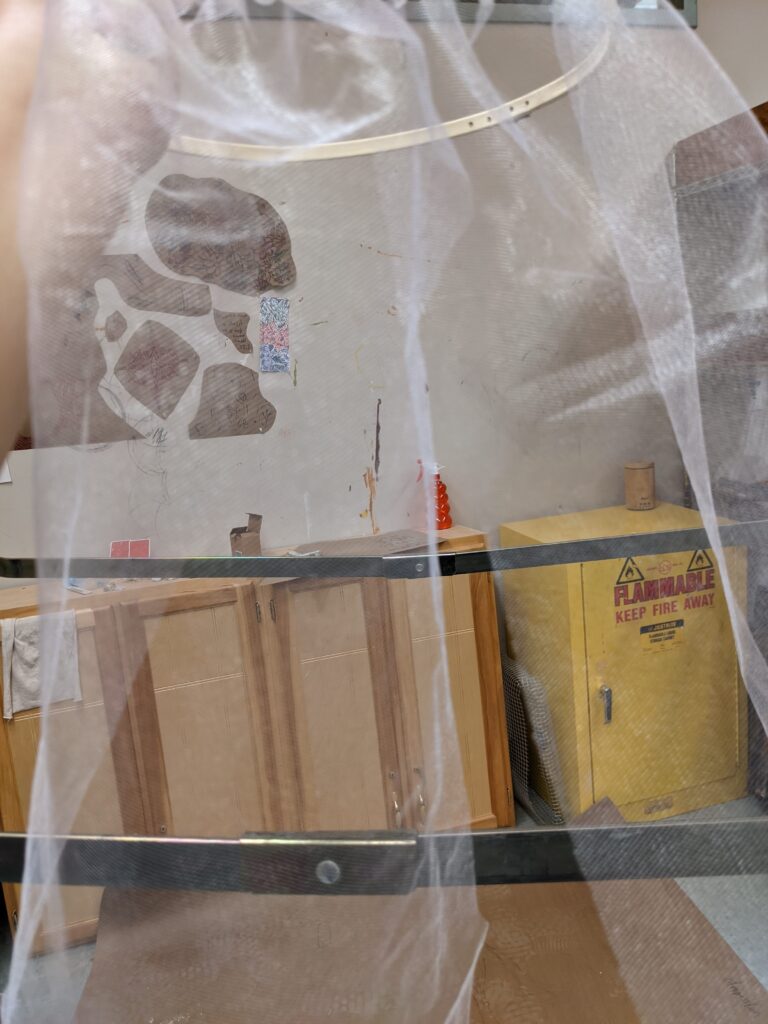
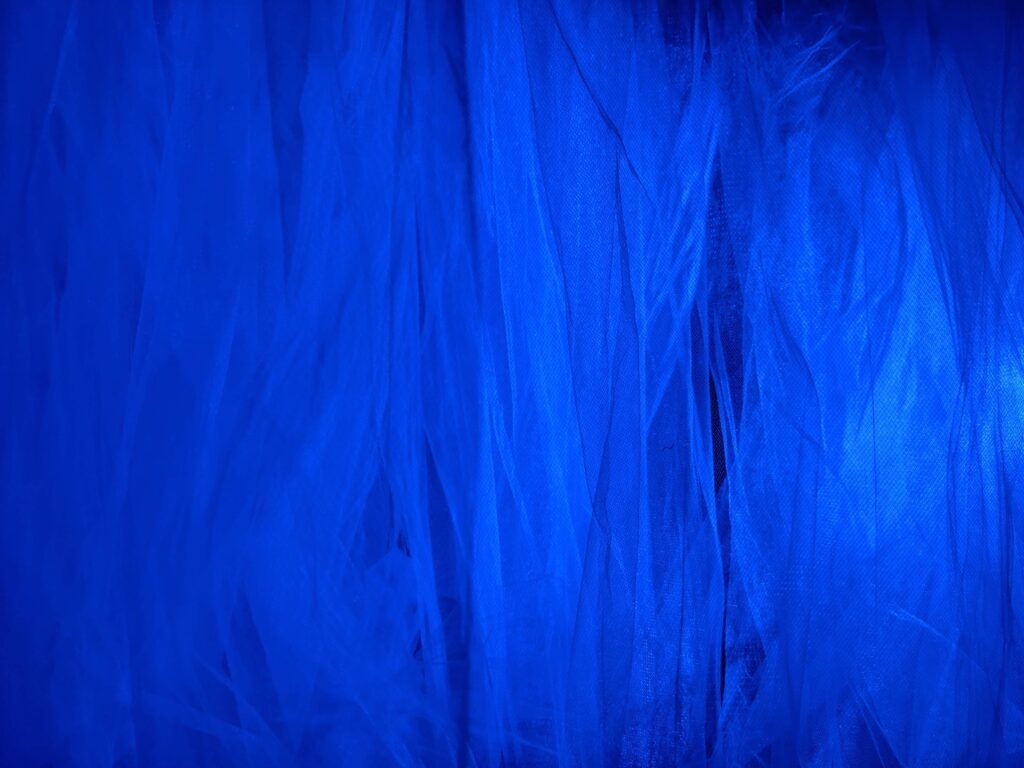
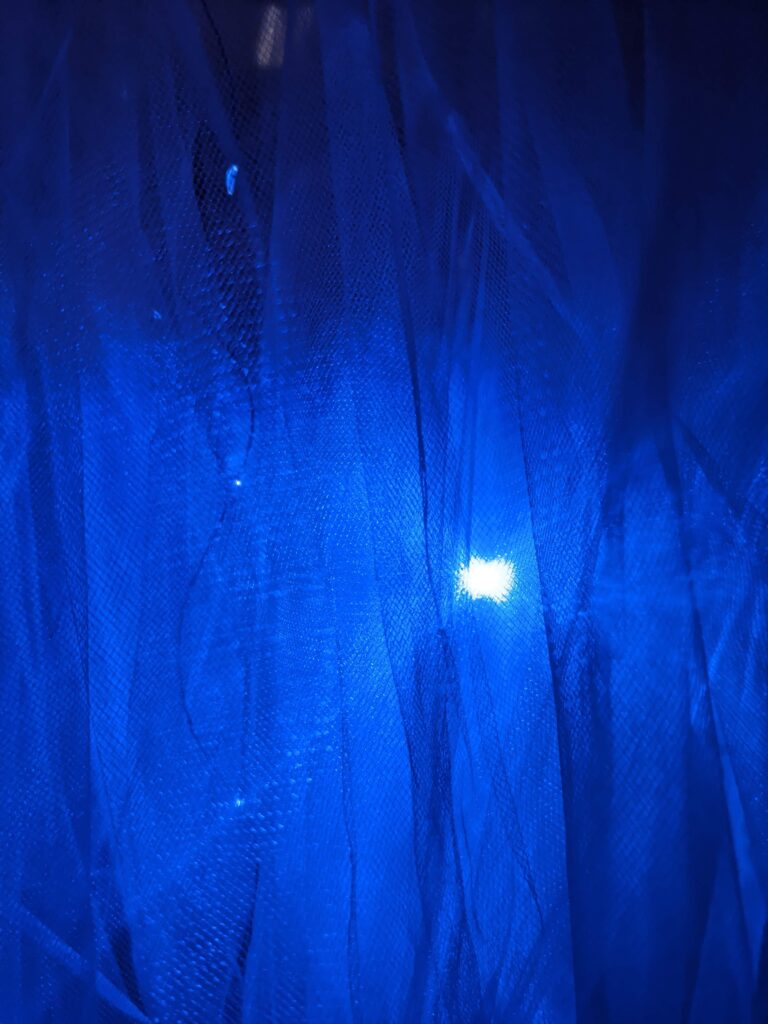
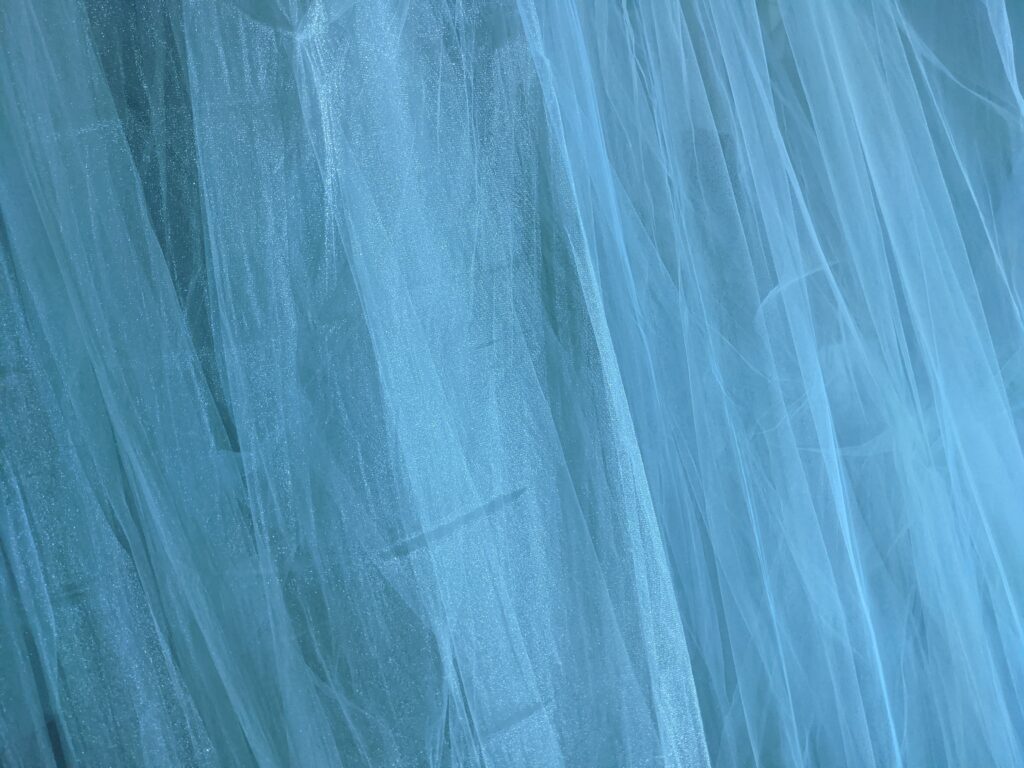
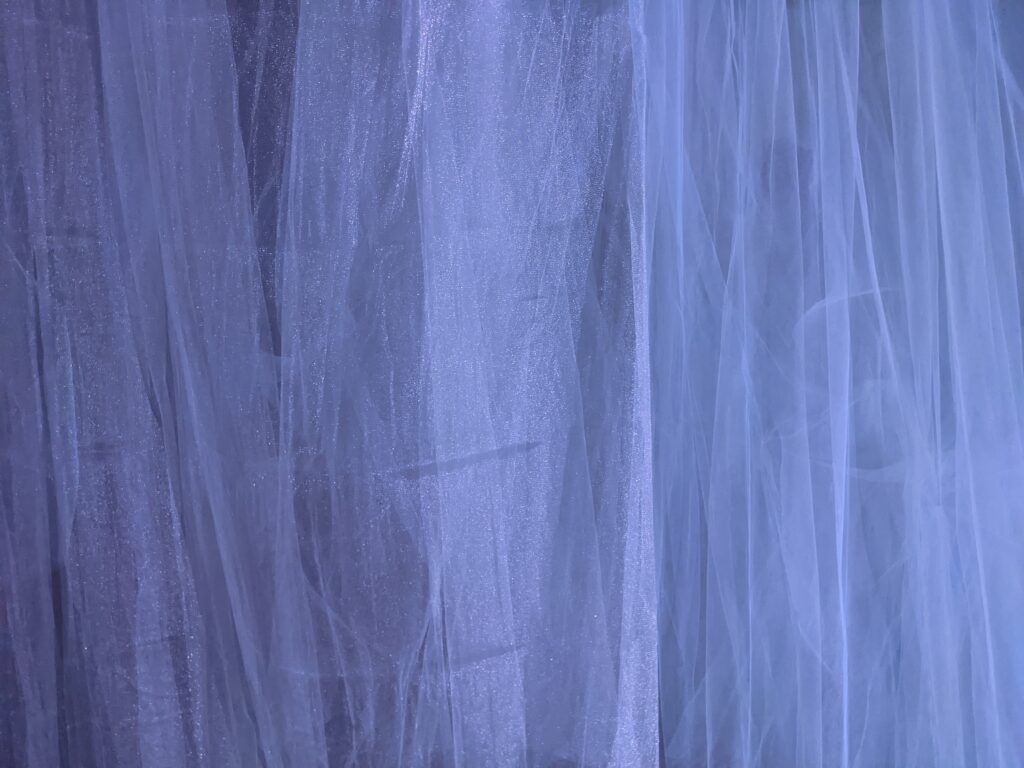
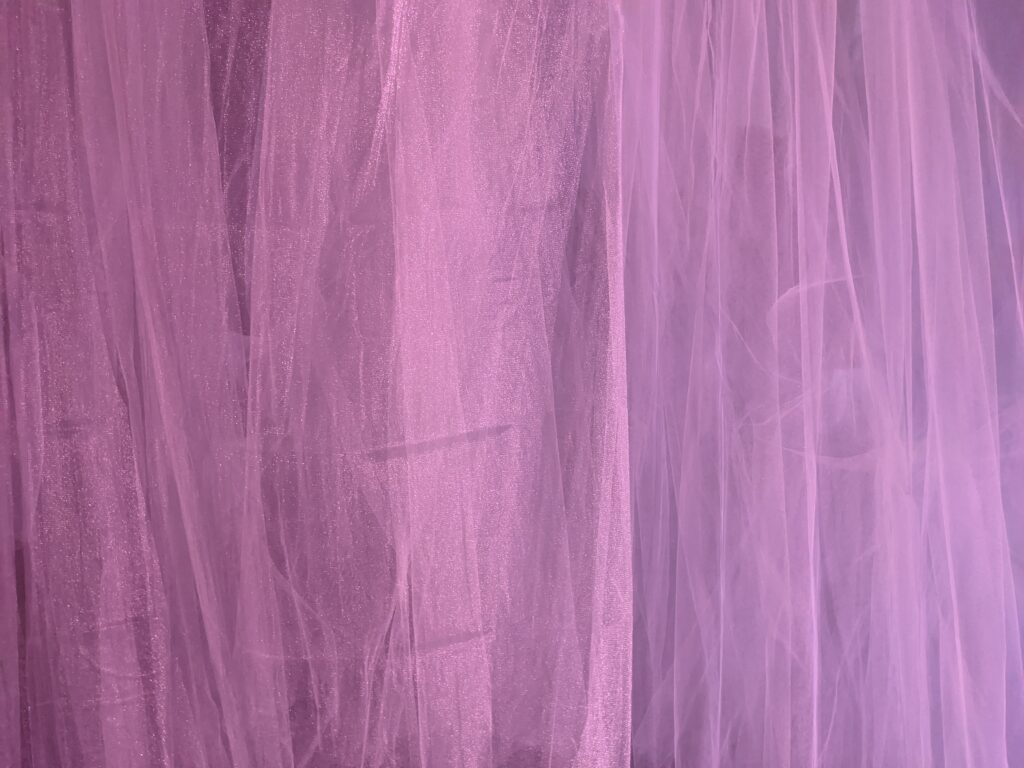
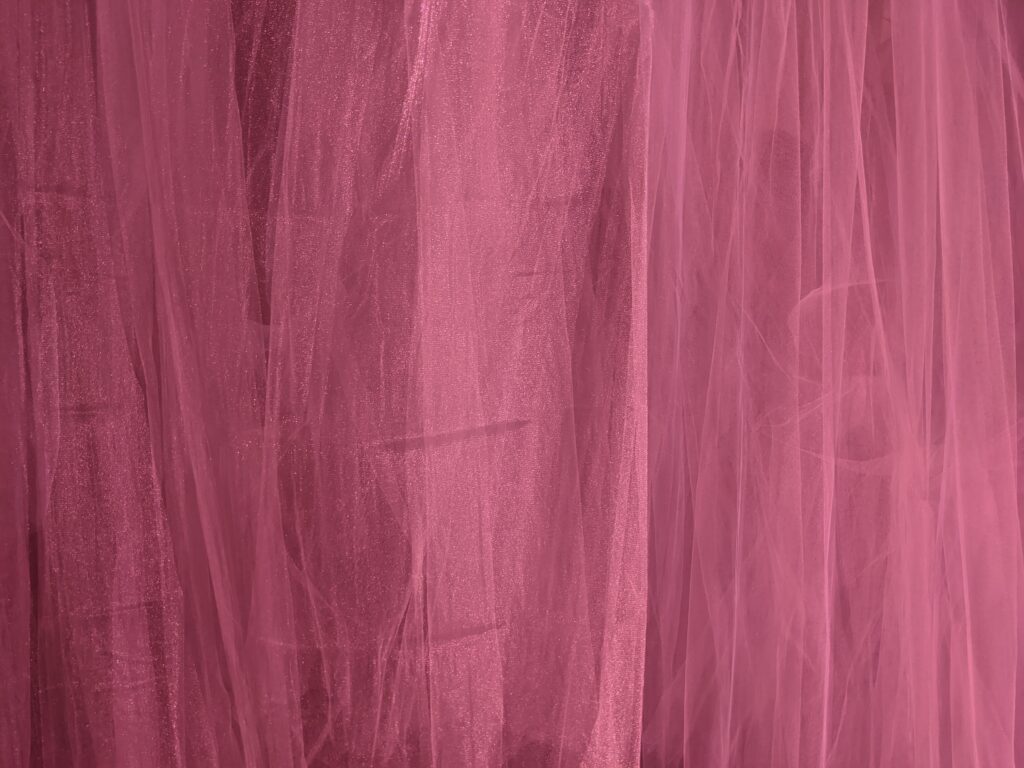
Once I had my materials picked out, and knew that I wanted to project light onto the fabric, instead of putting LED’s throughout it. I began to start assembling the piece.
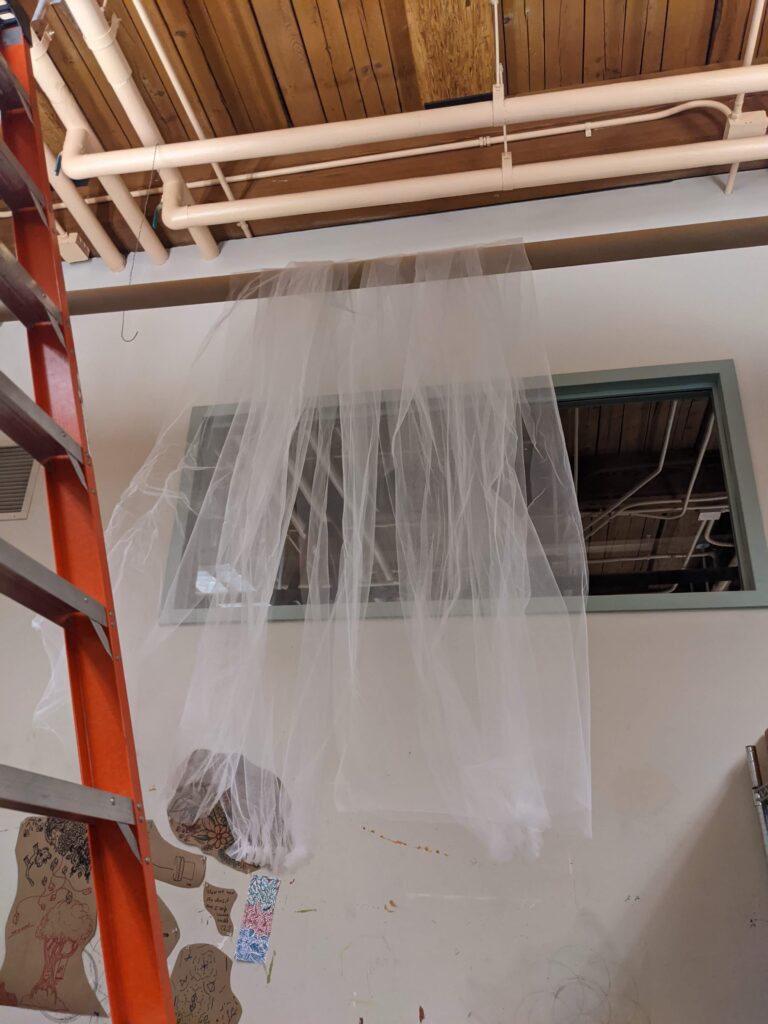
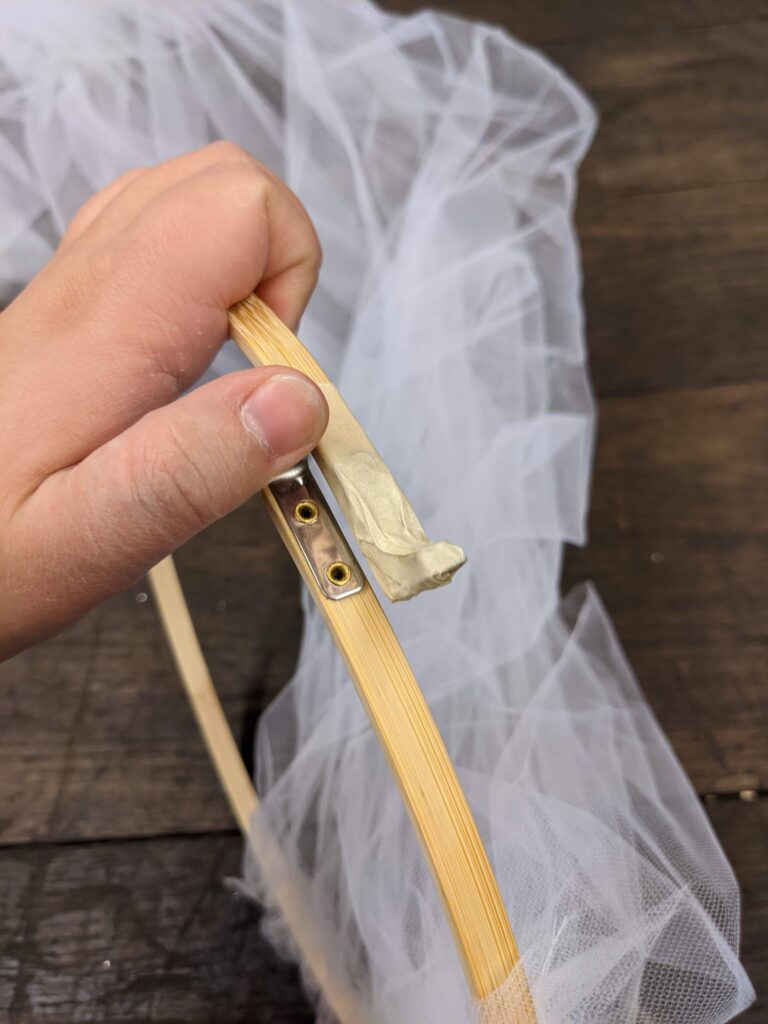
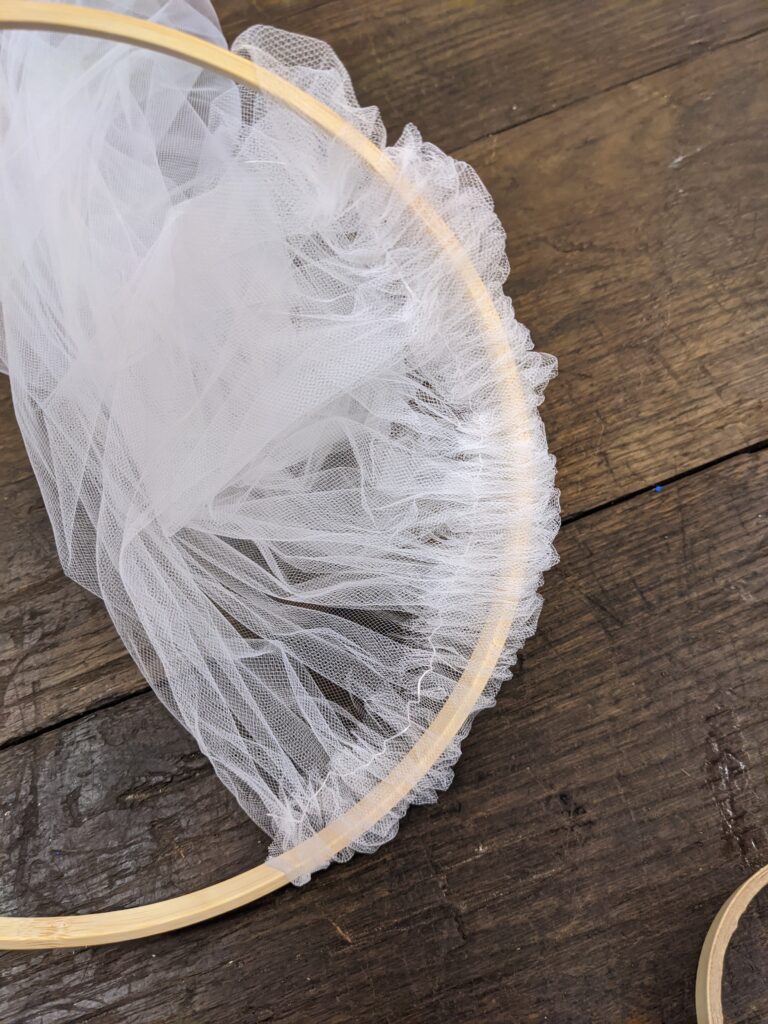
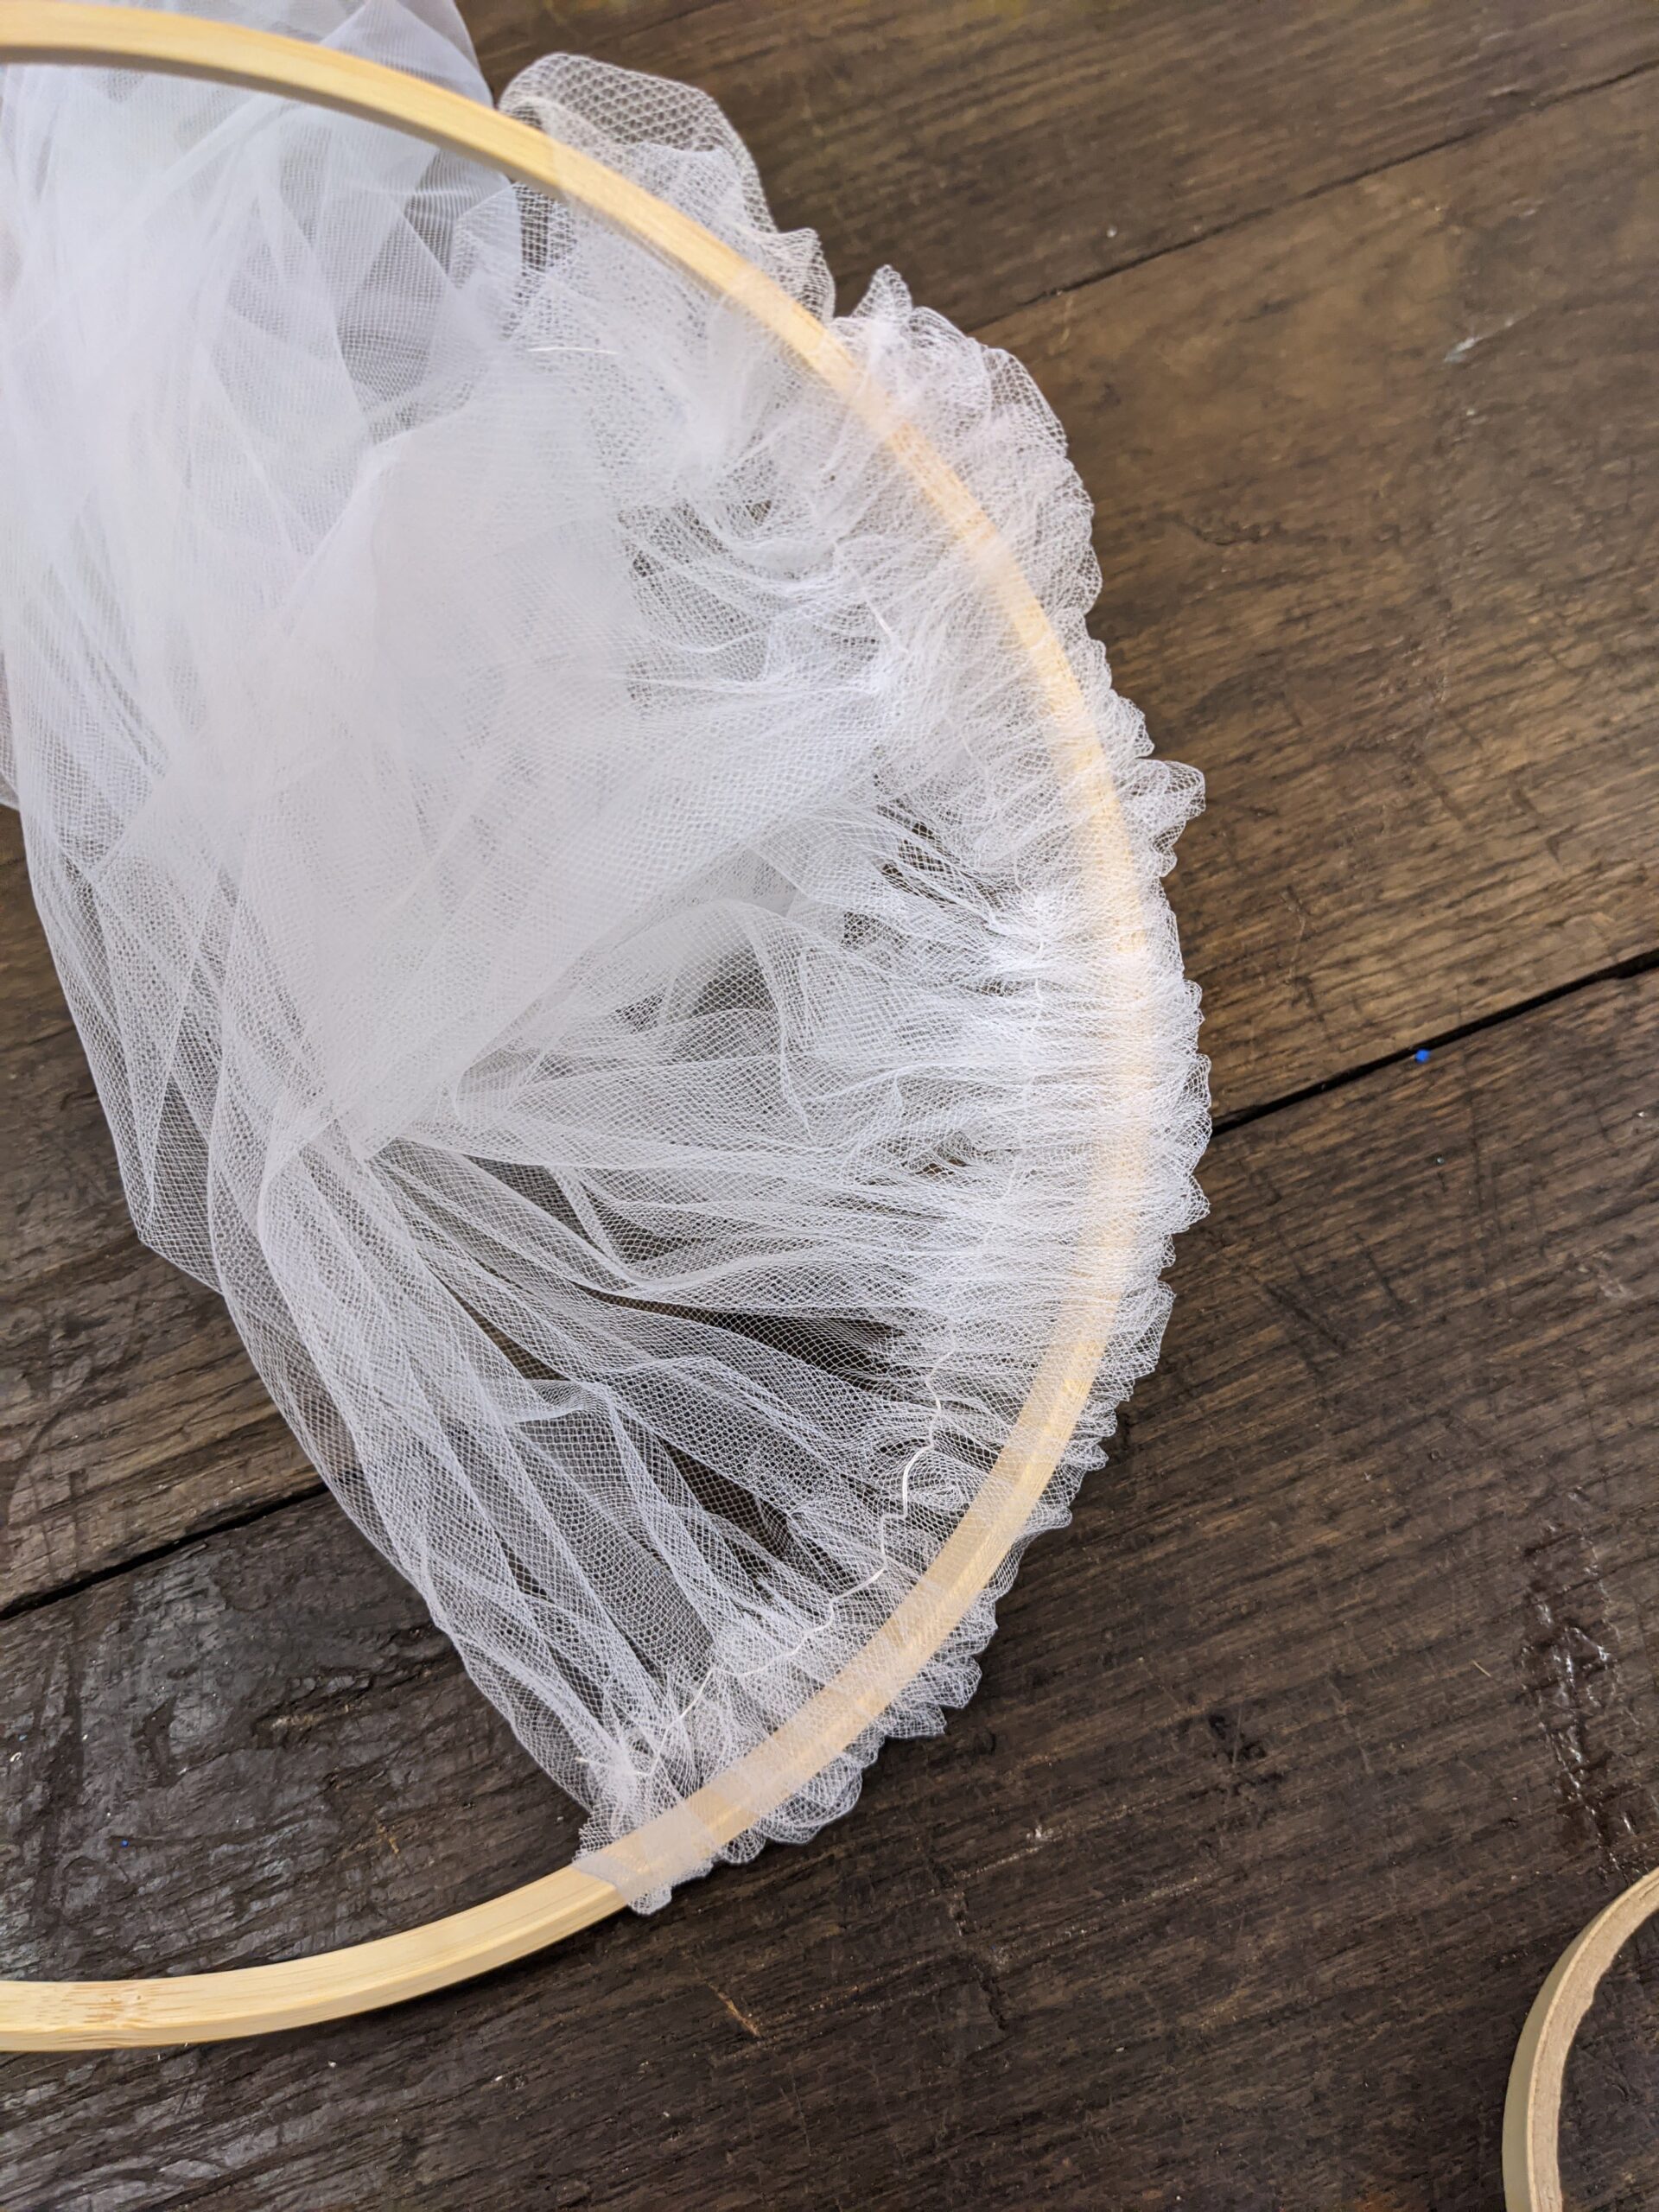
I decided to use tulle for the fabric, as it is inexpensive and I enjoyed it’s texture the most out of the affordable fabrics. I used embroidery hoops to hang the fabric from. As it was easy to remove and add fabric, and to also make it easy to hang from the ceiling.
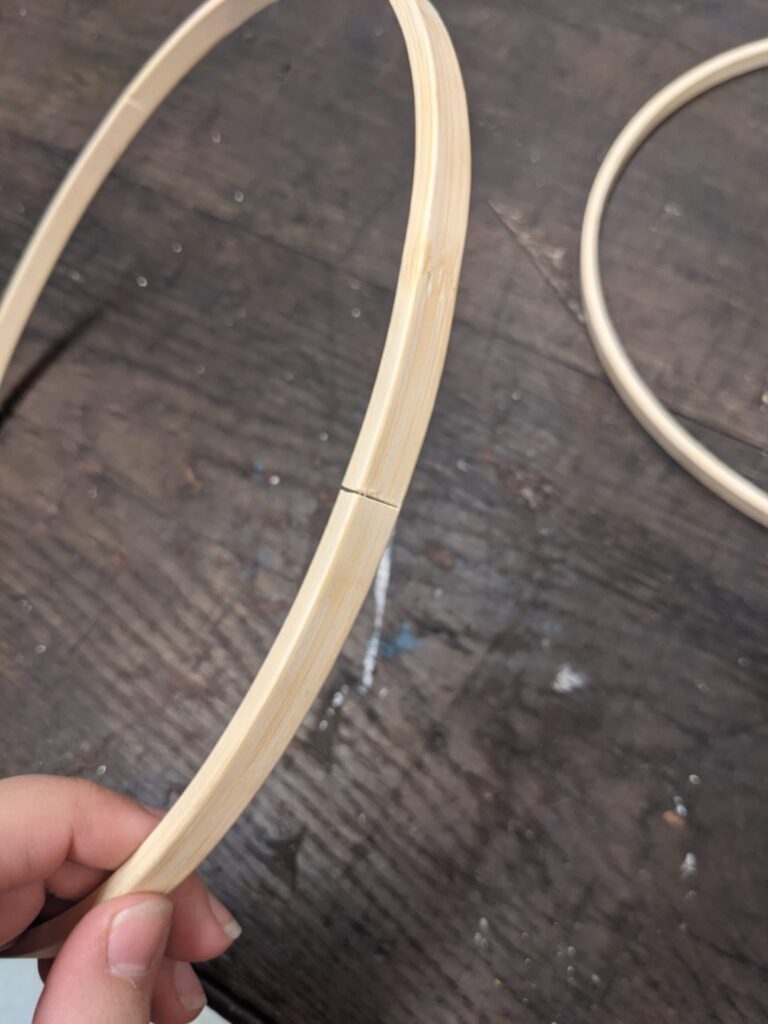
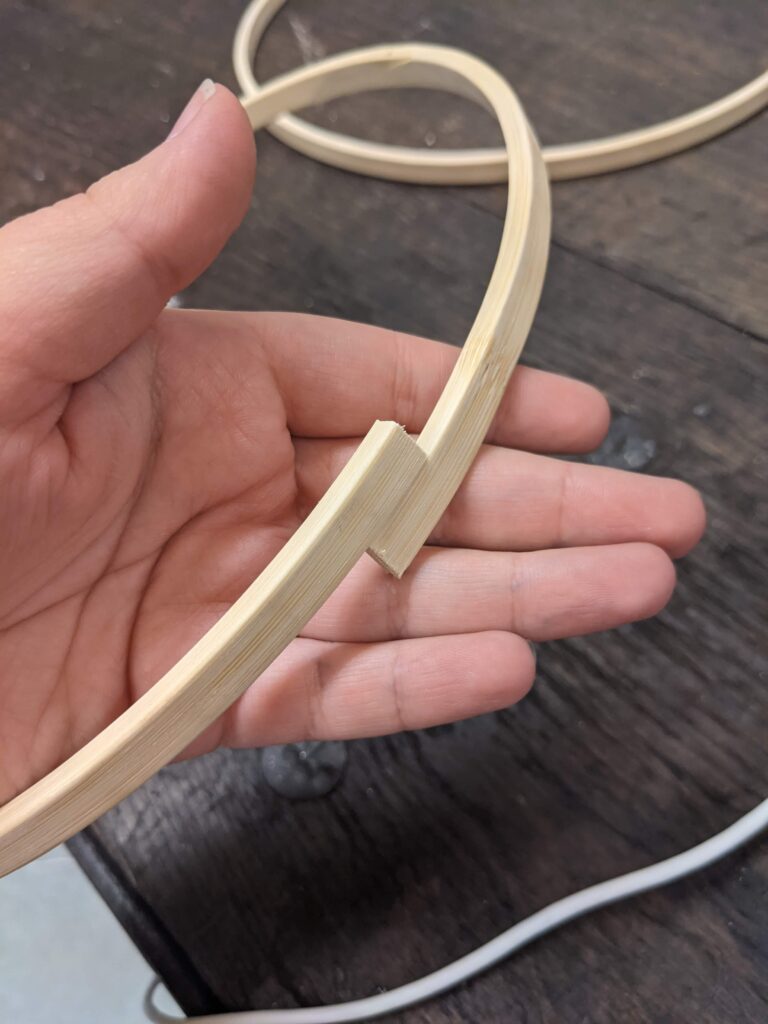
Since the inner hoops didn’t unlatch, I had to cut them with the ban saw, and then create my own latch. To make sure it would work, I tested it out on my test hoop.
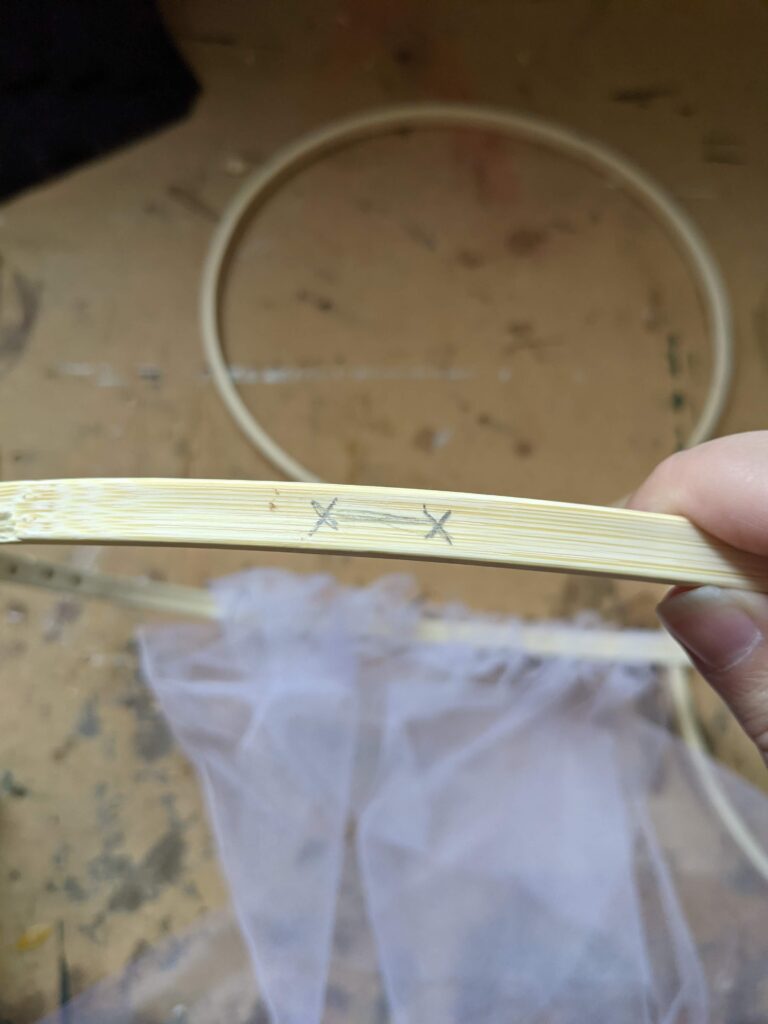
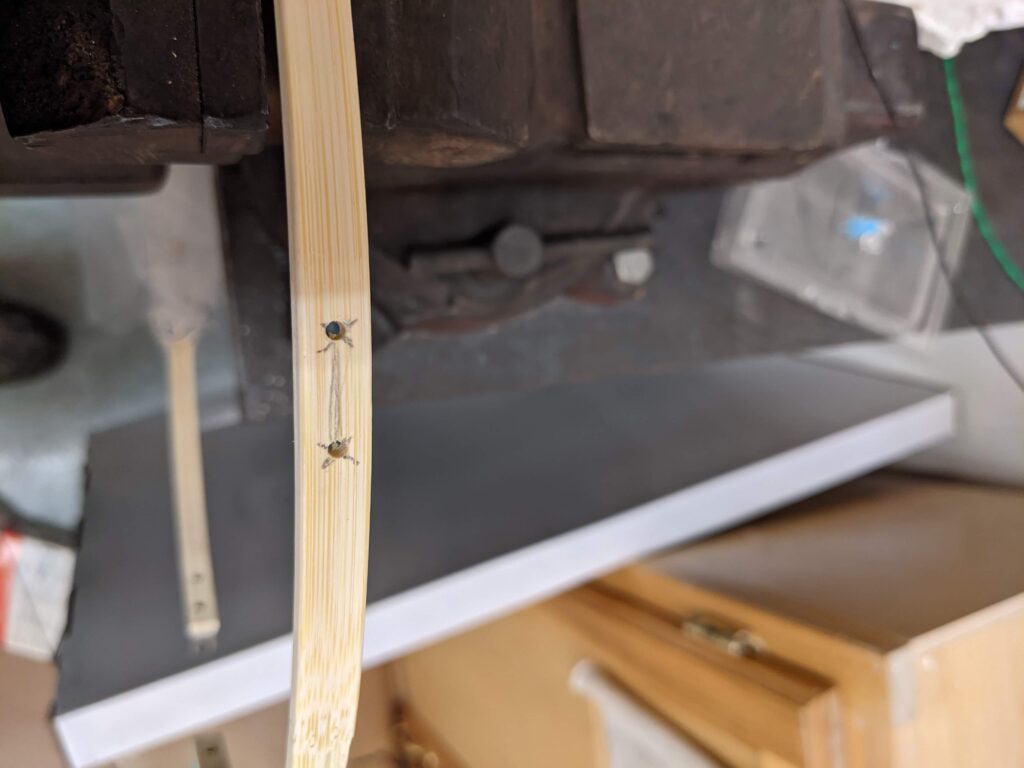
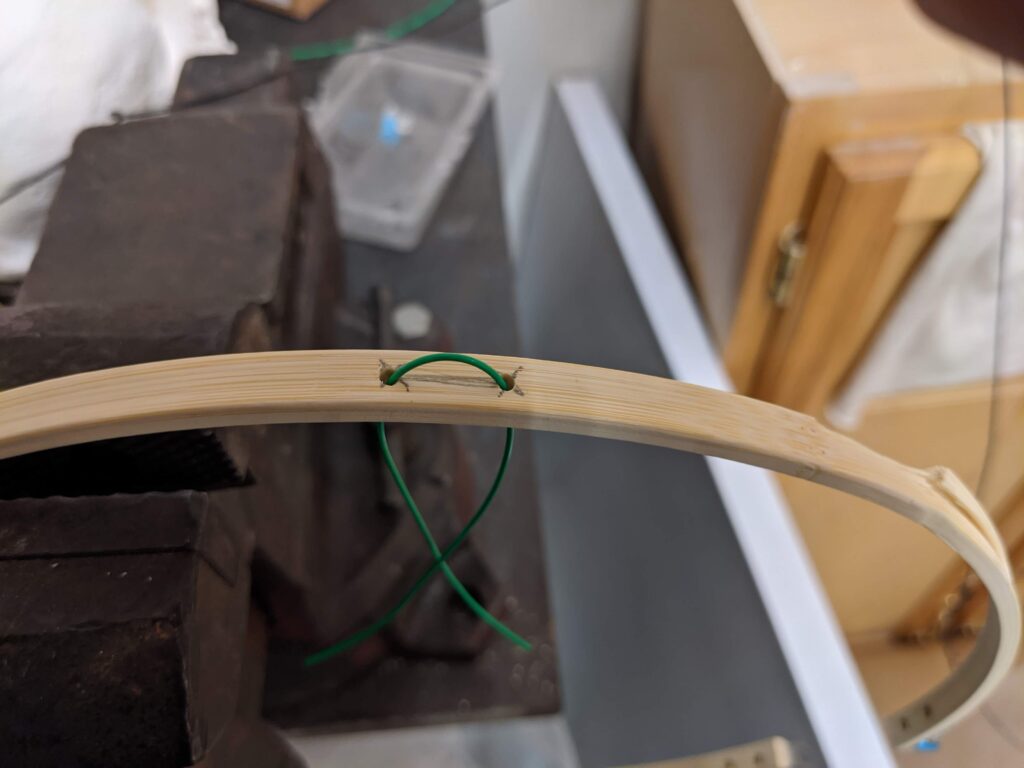
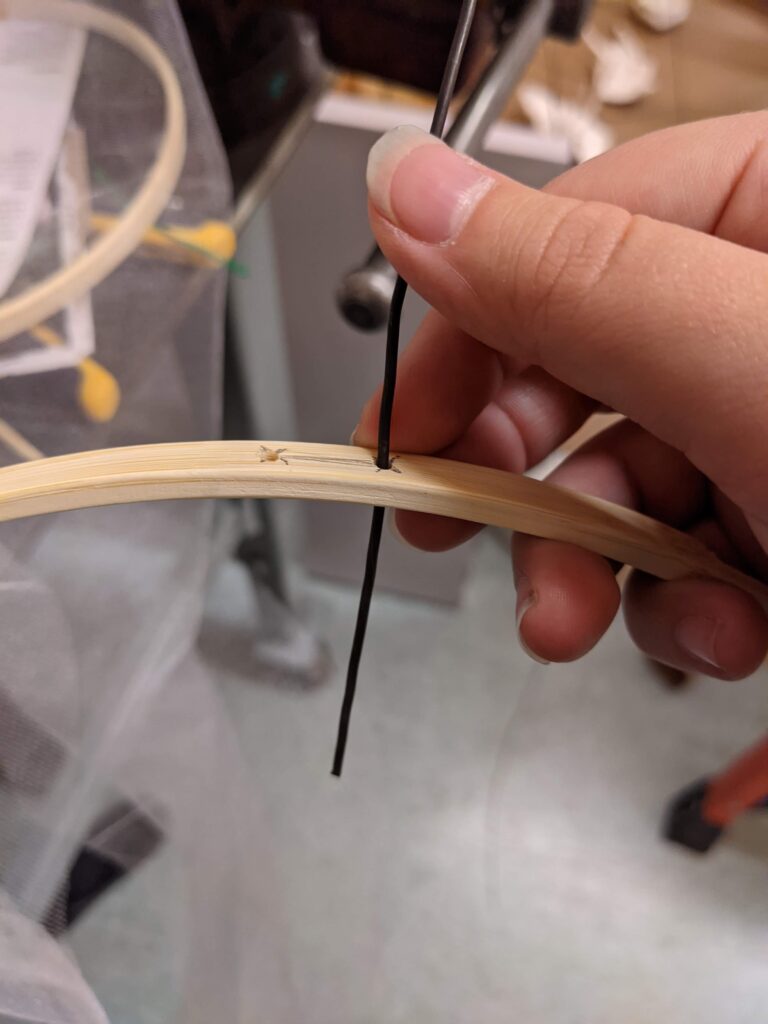
Once I had a couple of the hoops finished, I strung them up with some temporary string. So I could try out some different heights, as well as projecting the light from different angles, and also trying out some different projections.
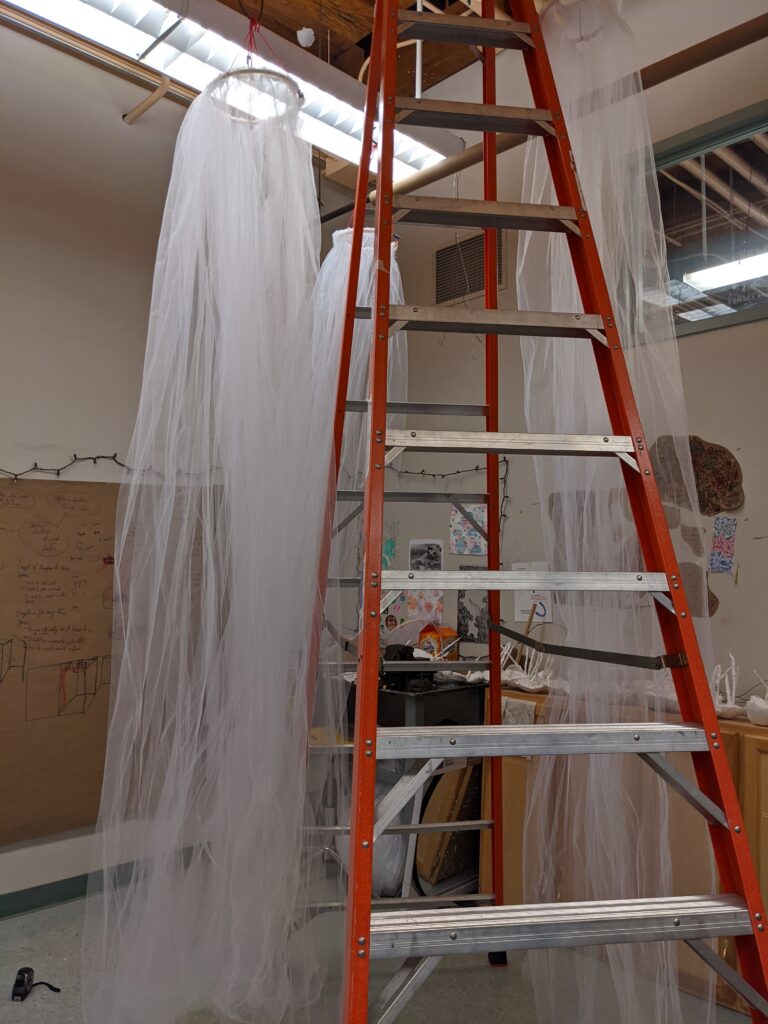
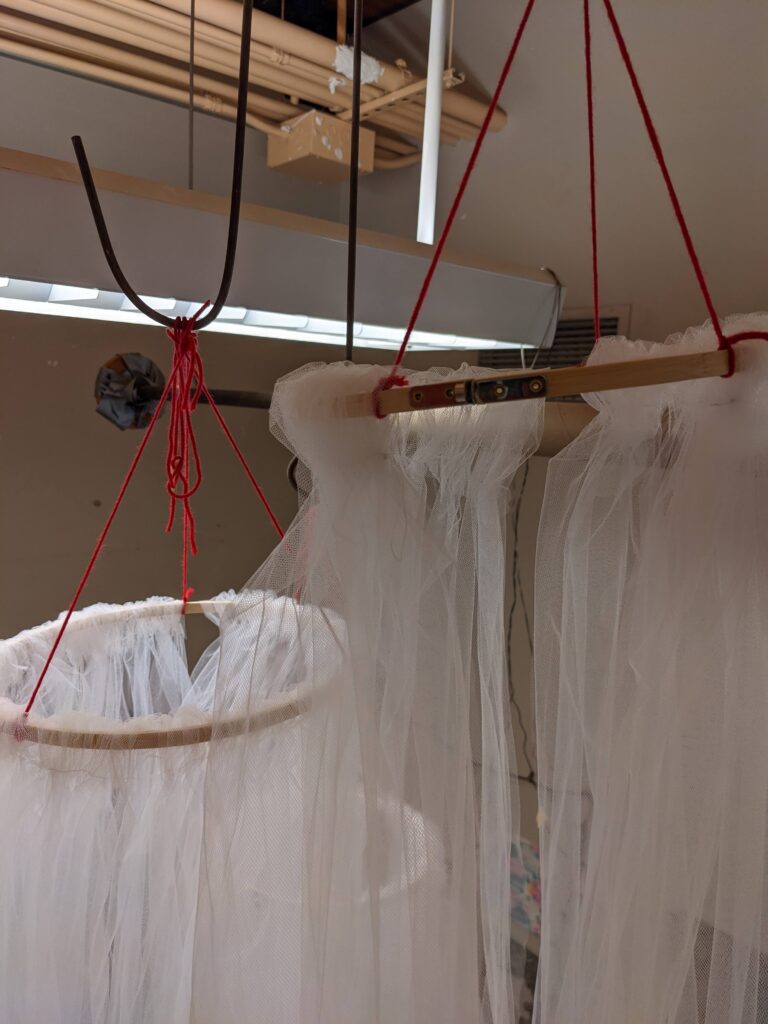
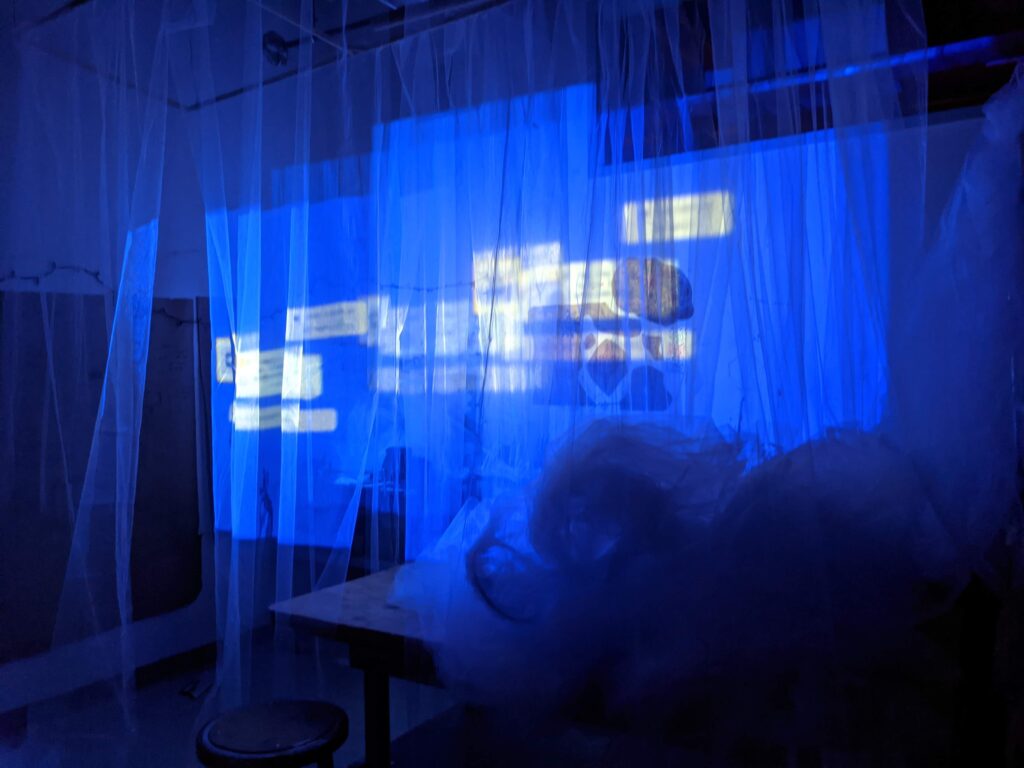
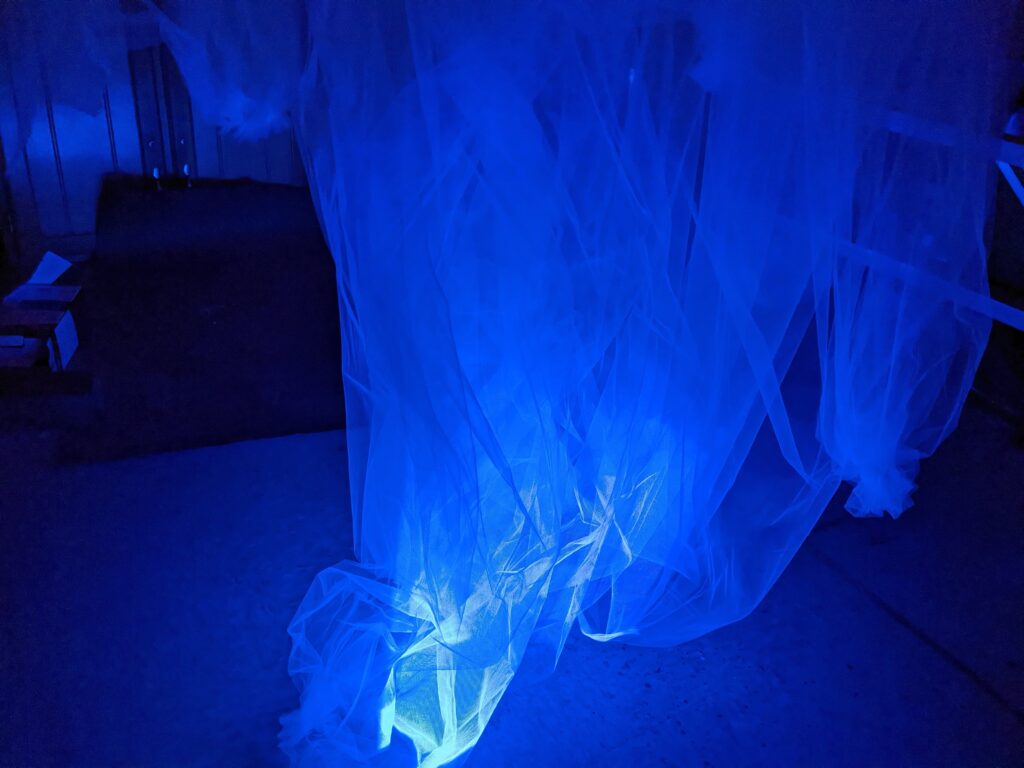
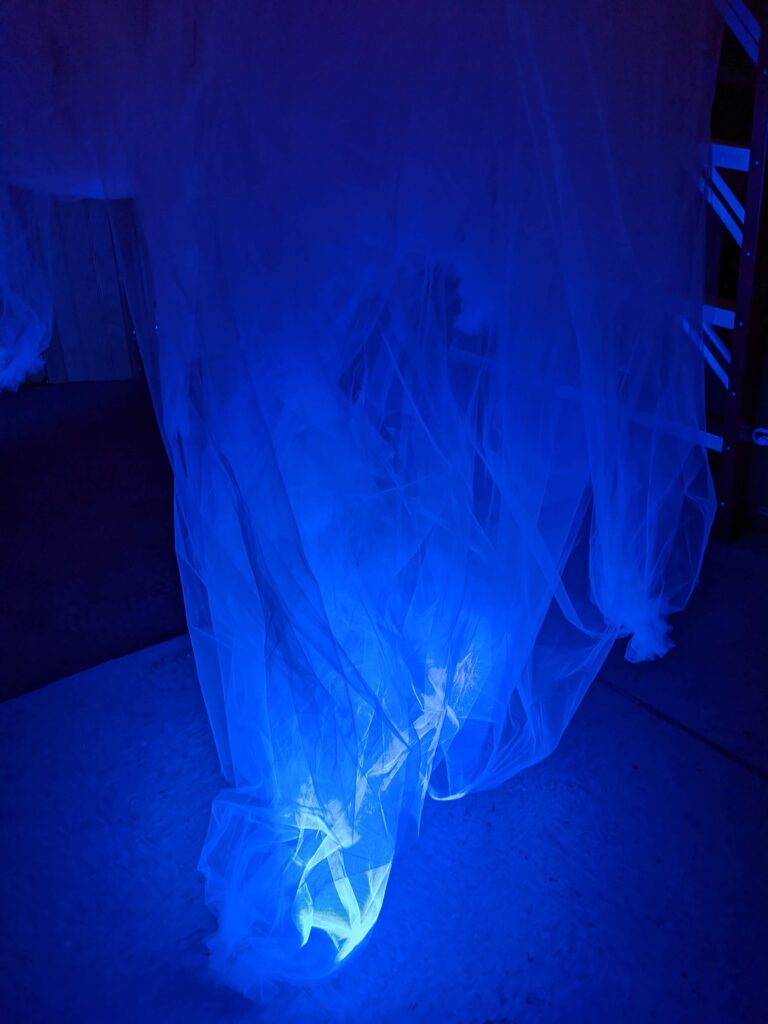
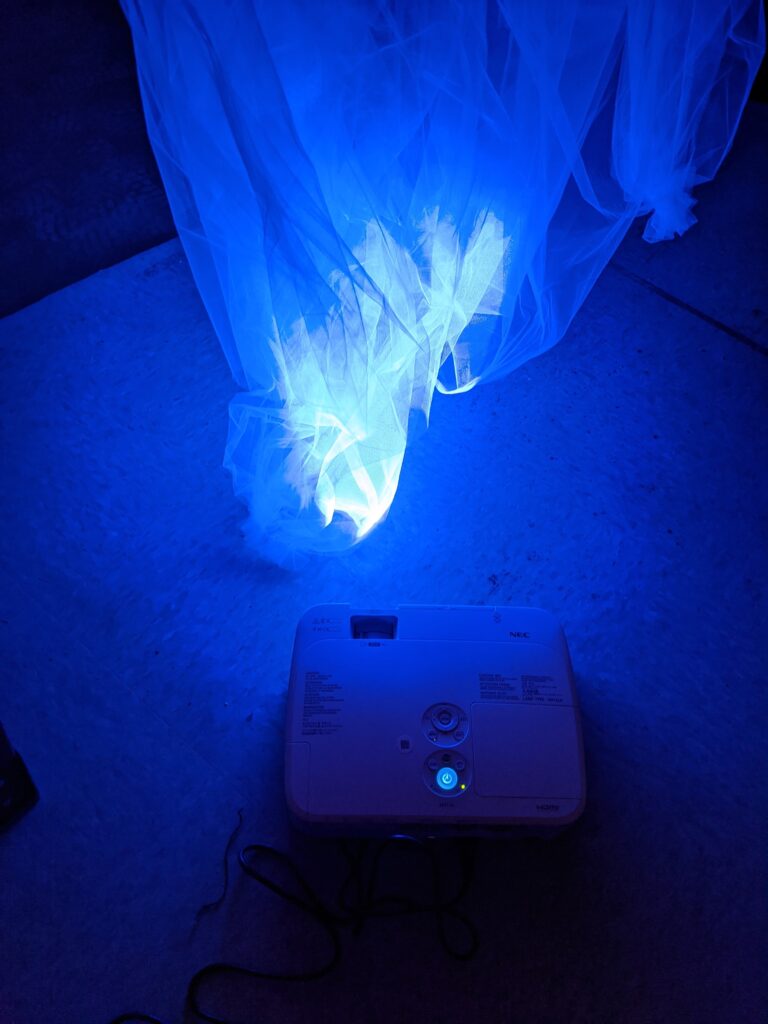
An issue I ran into while working on this project was that I couldn’t t reach the ceiling, at first I was using large hooks that were easy to move, but they limited where I could hang the hoops from to much. So I ended up borrowing a wooden frame from one of my classmates, that he was going to scrap.
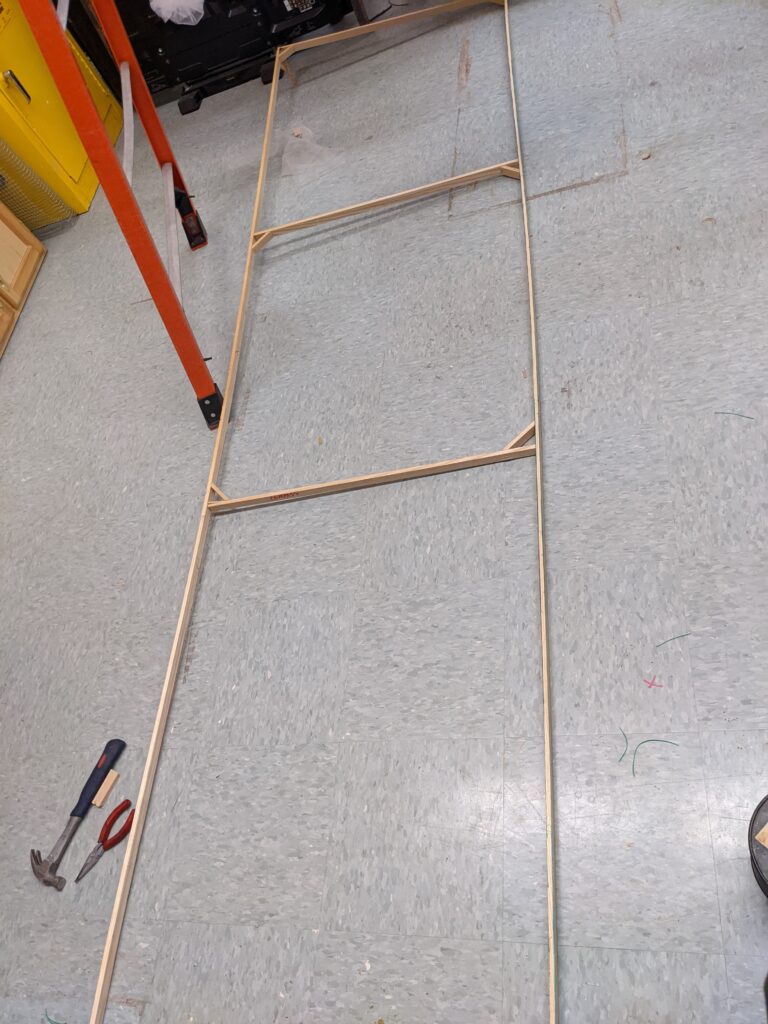
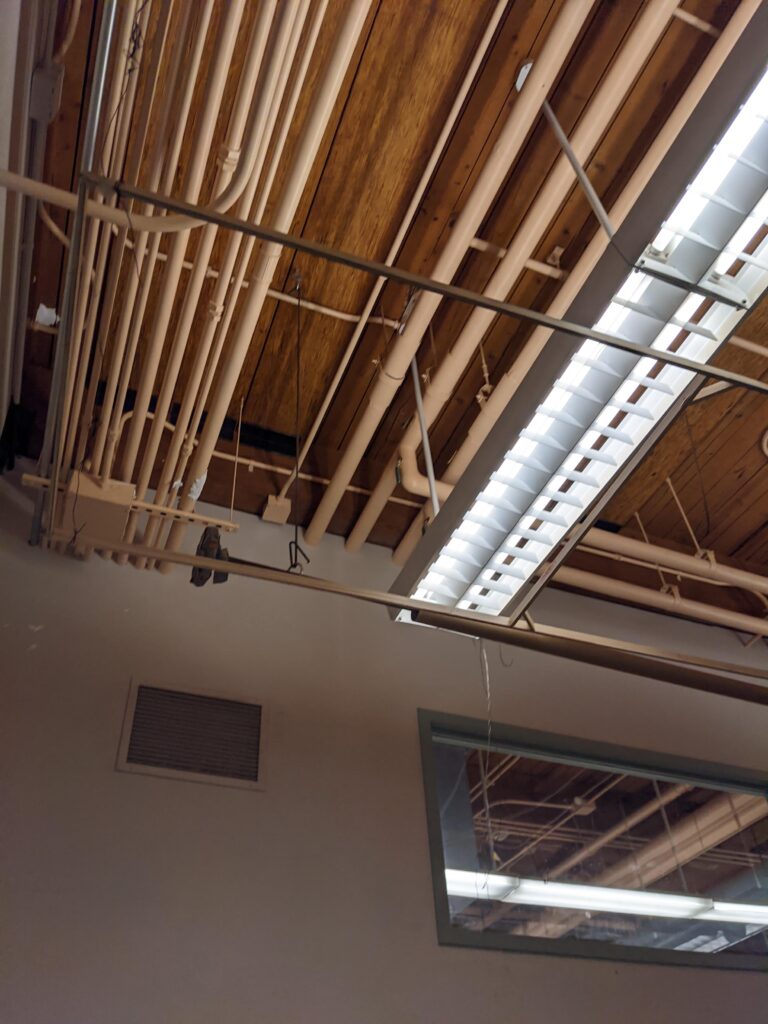
I used the frame to hang the hoops from. Once they were all hung, I went back in and hung some fabric between hoops. After everything was hung, I went in and weaved the fabric together.
After critique, I realized I needed to open up the piece a bit more. and also add a place for people to sit. The narrow tunnel ended having Closter phobic feel, as the fabric sometimes caught on you as you walked through, and since it was a tunnel-like shape people felt the need to keep moving, instead of stopping and settling.
Though my first attempt was not completely successful in calming people. The piece still did offer a distraction and relieved stress. When interacting with it during critique my peers said that after they did feel less stress, and whatever was on their mind before class, they had forgotten completely.
I’m also proud of myself that I managed my time well, which was the challenge I set for myself. Even though I ran into some family issues, that caused me to lose some time, I had scheduled enough leftover time that I wasn’t scrambling at the last minute to finish.
I ended up going back in and tweaking the project a bit. I had one of my peers Emily test out a couple different versions. The orginal, one where the walls were pulled back a bit to open up the entire piece, and then one where I just pulled the walls back around a stool I had placed towards the back of the piece.
It ended up being a combination of the last two. I had Emily sit on the stool, and moved the walls in and out to get just the right positioning. Now the fabric doesn’t touch the viewer while they sit, but it’s not so open that you lose the way the light moves through the fabric.
Outside view:
Inside view from chair: